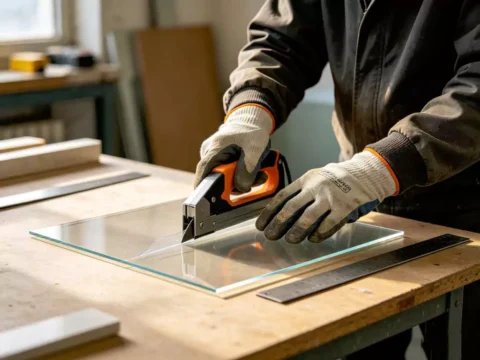

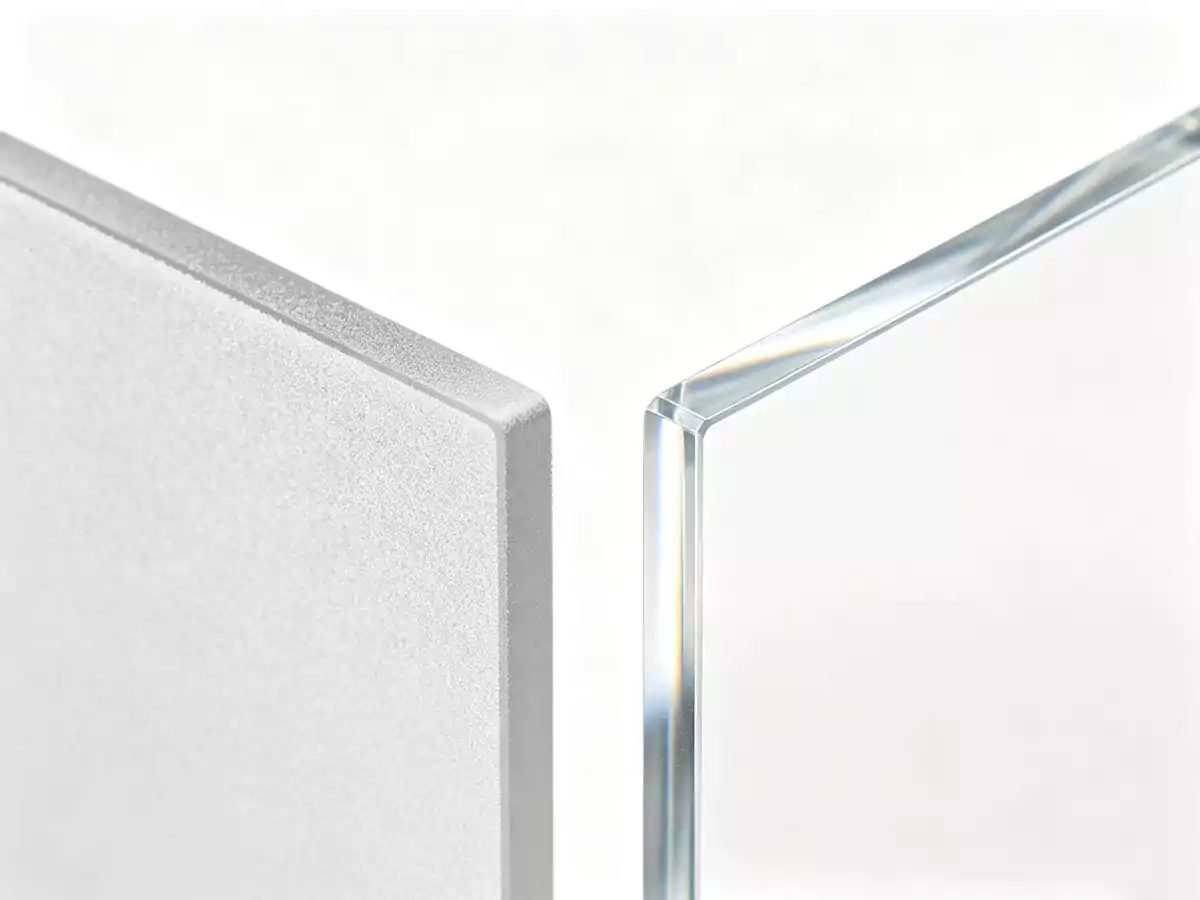
If you’ve ever cut a piece of acrylic and held it up to the light, you know the feeling: the surface is crystal clear, but the edge looks cloudy, rough, and amateurish. It’s the difference between a project that looks homemade and one that looks professionally finished. Polishing acrylic edges to a glass-like clarity isn’t hard — anyone can do it with the right tools and technique — but there’s more to it than just grabbing some sandpaper and rubbing. This guide walks you through every method, from beginner-friendly hand sanding to professional flame polishing, so you can achieve perfectly clear edges on your next acrylic project.
Why Edge Polishing Transforms Acrylic Projects
Cutting, drilling, and machining acrylic inevitably leaves edges that are rough, matte, frosted, or slightly chipped. While these unfinished edges may be acceptable for structural or hidden components, any acrylic project where the edges are visible — display cases, signage, furniture, light fixtures, awards, and architectural features — demands polished edges that match the optical clarity of the sheet surface.
Edge polishing is the process of progressively smoothing and refining the cut edge until it matches or exceeds the clarity of the original acrylic surface Read more in our cut acrylic sheets guide. A well-polished acrylic edge is virtually indistinguishable from glass, with a crystal-clear, mirror-like finish that transforms an ordinary fabrication into a professional-quality piece.
This guide covers four primary polishing methods, each suited to different situations, skill levels, and available tools. Whether you are a DIY hobbyist finishing your first project or a professional fabricator pursuing perfection, these techniques will give you the results you need.
Understanding Edge Types and Polishing Requirements
Not all edges are created equal, and the polishing method you choose should match the edge type and the desired final quality:
Sawn Edges
Edges produced by saw cutting (circular saw, table saw, jigsaw) have visible tool marks, a frosted appearance, and may have minor chipping. These require the most aggressive polishing, starting with coarse sanding to remove tool marks before progressing to finer grits.
Laser-Cut Edges
Laser-cut edges are typically already polished to a high gloss by the cutting process itself (especially with cast acrylic). These may need only a light pass with fine polishing compound or no polishing at all. Extruded acrylic laser cuts may have slight burring that requires light sanding. Read our cut acrylic sheets guide to learn more.
Scored/Snapped Edges
Edges from scoring and snapping thin acrylic are relatively clean but have a matte, frosted finish Read more in our cleaning acrylic guide. These respond well to flame polishing or light mechanical polishing.
Drilled Hole Edges
Drilled holes have burrs and micro-cracking around the circumference. These require countersinking followed by chemical or mechanical polishing for a clear finish.
Method 1: Mechanical Polishing (Sandpaper and Compound)
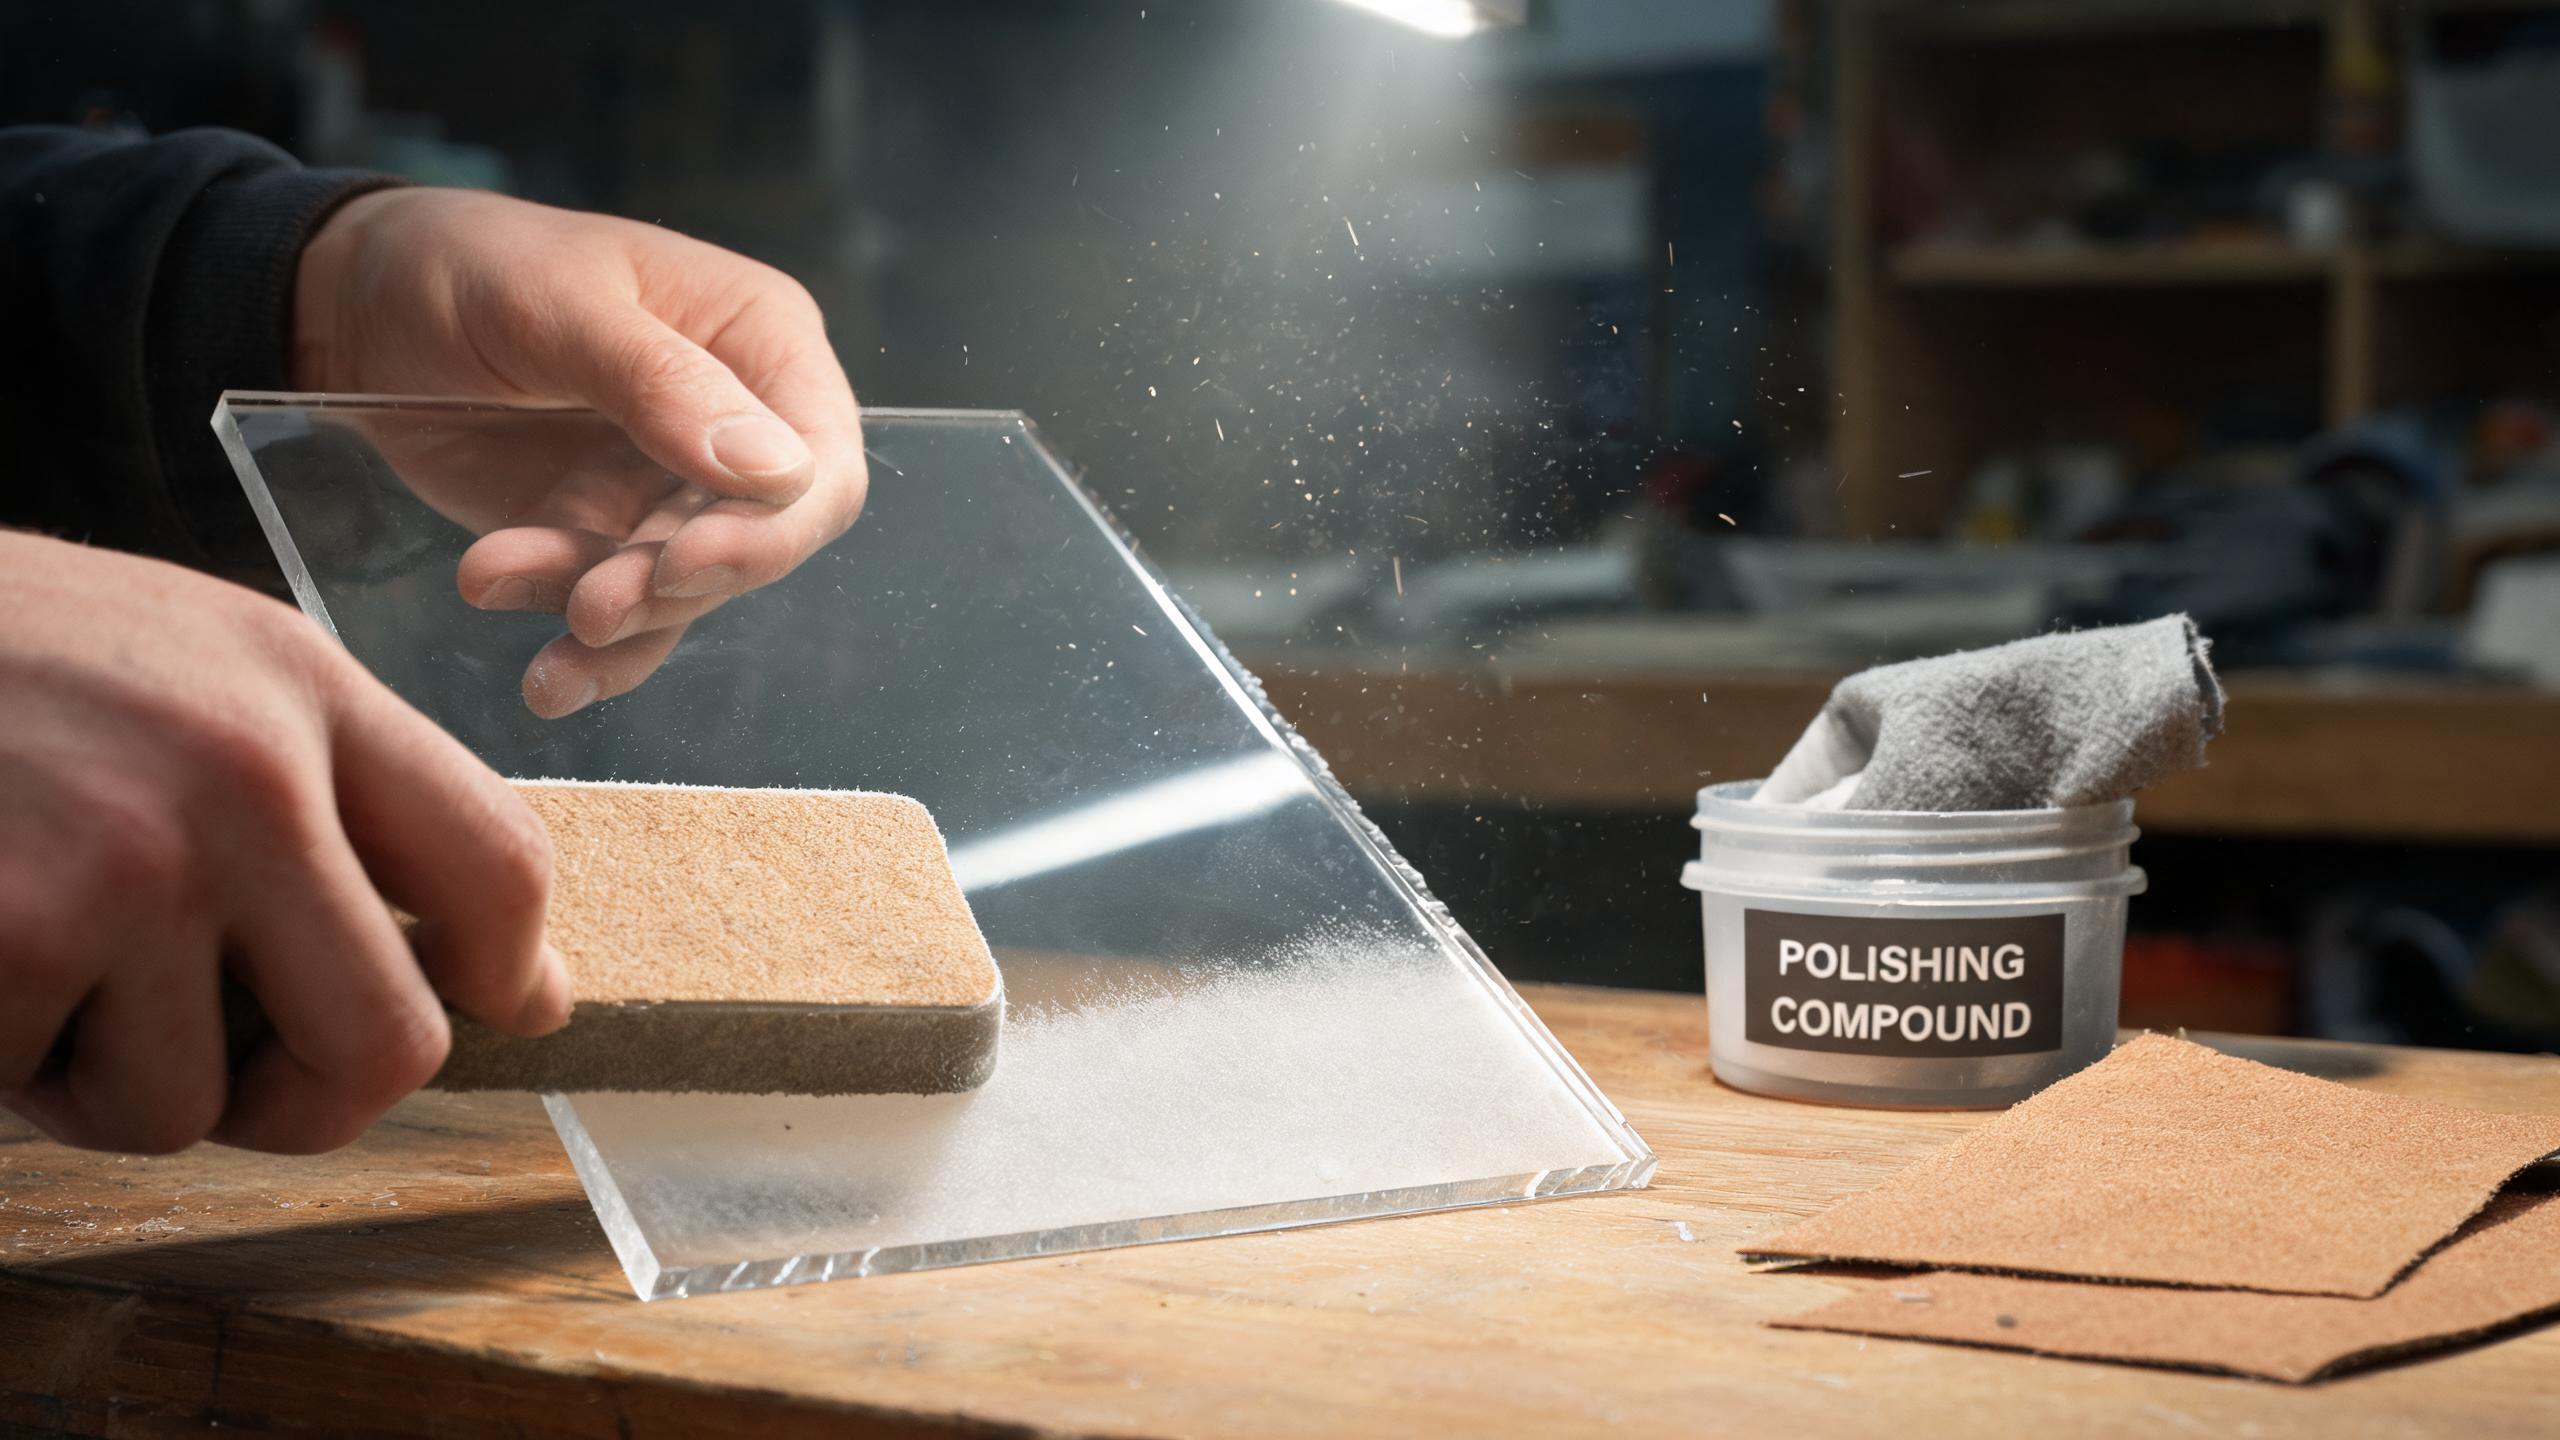
Mechanical polishing is the most accessible method and produces excellent results on flat edges. It requires no specialized equipment beyond sandpaper and polishing compound, making it ideal for DIY enthusiasts.
Equipment Needed
- Wet/dry sandpaper: 220, 320, 400, 600, 800, 1,200 grit
- Polishing compound (plastic polish such as Novus #2 or #3)
- Microfiber cloths
- Water spray bottle (for wet sanding)
- Flat backing block (rubber or cork sanding block)
Step-by-Step Process
- Start with 220-grit sandpaper (wet) to remove all visible tool marks, chipping, and major irregularities. Sand with firm, even pressure in one direction only. Continue until the edge is uniformly smooth with a consistent matte finish.
- Progress to 320-grit (wet). Sand until all 220-grit scratches are completely removed. The edge should appear smoother but still matte.
- Progress to 400-grit (wet). The edge will begin to develop a slight sheen.
- Progress to 600-grit (wet). The edge should be noticeably smoother with a semi-gloss appearance.
- Progress to 800-grit (wet). The edge is now quite smooth with increasing clarity.
- Progress to 1,200-grit (wet). The edge should be nearly clear with only a fine, uniform haze.
- Apply plastic polish (Novus #2) with a clean microfiber cloth. Buff vigorously in a circular motion until the haze disappears and the edge is crystal clear.
- For maximum clarity, follow with Novus #1 (fine scratch remover) for a final mirror-like finish.
Critical: You must completely remove the scratches from each grit before moving to the next. If you skip grits or rush, the final result will show visible scratch patterns.
Always use wet sanding — water lubricates the sandpaper, prevents clogging, reduces heat, and produces a smoother finish.
Method 2: Flame Polishing (Propane Torch)
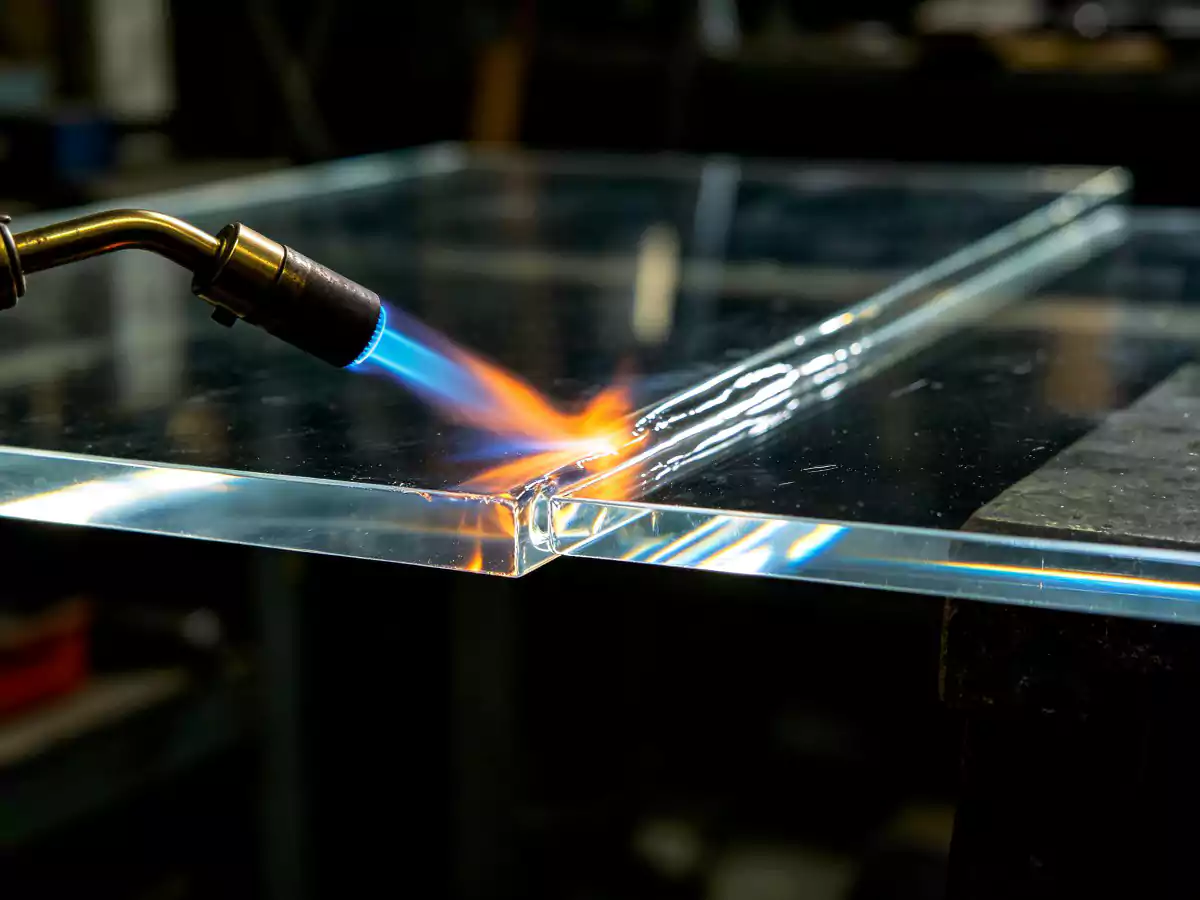
Flame polishing is the fastest method for achieving a glass-like finish on acrylic edges. A brief pass with a propane torch melts the surface layer of the acrylic, which then re-solidifies into a smooth, crystal-clear finish. The results can be dramatic and beautiful, but the technique requires practice to master. Read our bend acrylic sheets guide to learn more.
Equipment Needed
- Propane torch (small handheld torch, not a full-size roofing torch)
- Fire extinguisher (safety requirement)
- Safety glasses
- Heat-resistant gloves
- Well-ventilated workspace
Step-by-Step Process
- Pre-finish the edge with at least 320-grit sandpaper. Flame polishing alone cannot remove deep scratches or tool marks — it only smooths the surface layer. A poorly prepared edge will show every imperfection after flame polishing.
- Set up in a well-ventilated area away from flammable materials. Have a fire extinguisher within reach.
- Light the propane torch and adjust to a medium-blue flame with a sharp inner cone. A yellow, sooty flame will deposit carbon on the acrylic.
- Hold the torch so the tip of the inner blue cone just barely touches the acrylic edge. The angle should be approximately 45 degrees to the edge surface.
- Pass the flame smoothly and quickly along the entire edge in one continuous motion. The acrylic surface will momentarily melt and re-solidify, producing a clear, glossy finish.
- Do not linger in any one spot — even a half-second too long will cause blistering, bubbling, or warping.
- Inspect the edge. If the result is not fully clear, make another quick pass. Multiple light passes are better than one long pass.
Pro Tip: Practice on scrap pieces first. The difference between a perfect flame-polished edge and a scorched, bubbled mess is a fraction of a second of flame exposure. Develop your speed and technique on material you can afford to ruin.
When to Avoid Flame Polishing
- On extruded acrylic (high risk of blistering due to internal stresses)
- On edges thicker than 1/2″ (12mm) — the heat penetration is uneven
- On colored or frosted acrylic — the heat can alter the appearance
- Near areas where the heat could damage adjacent components
Method 3: Chemical Polishing (Solvent-Based)
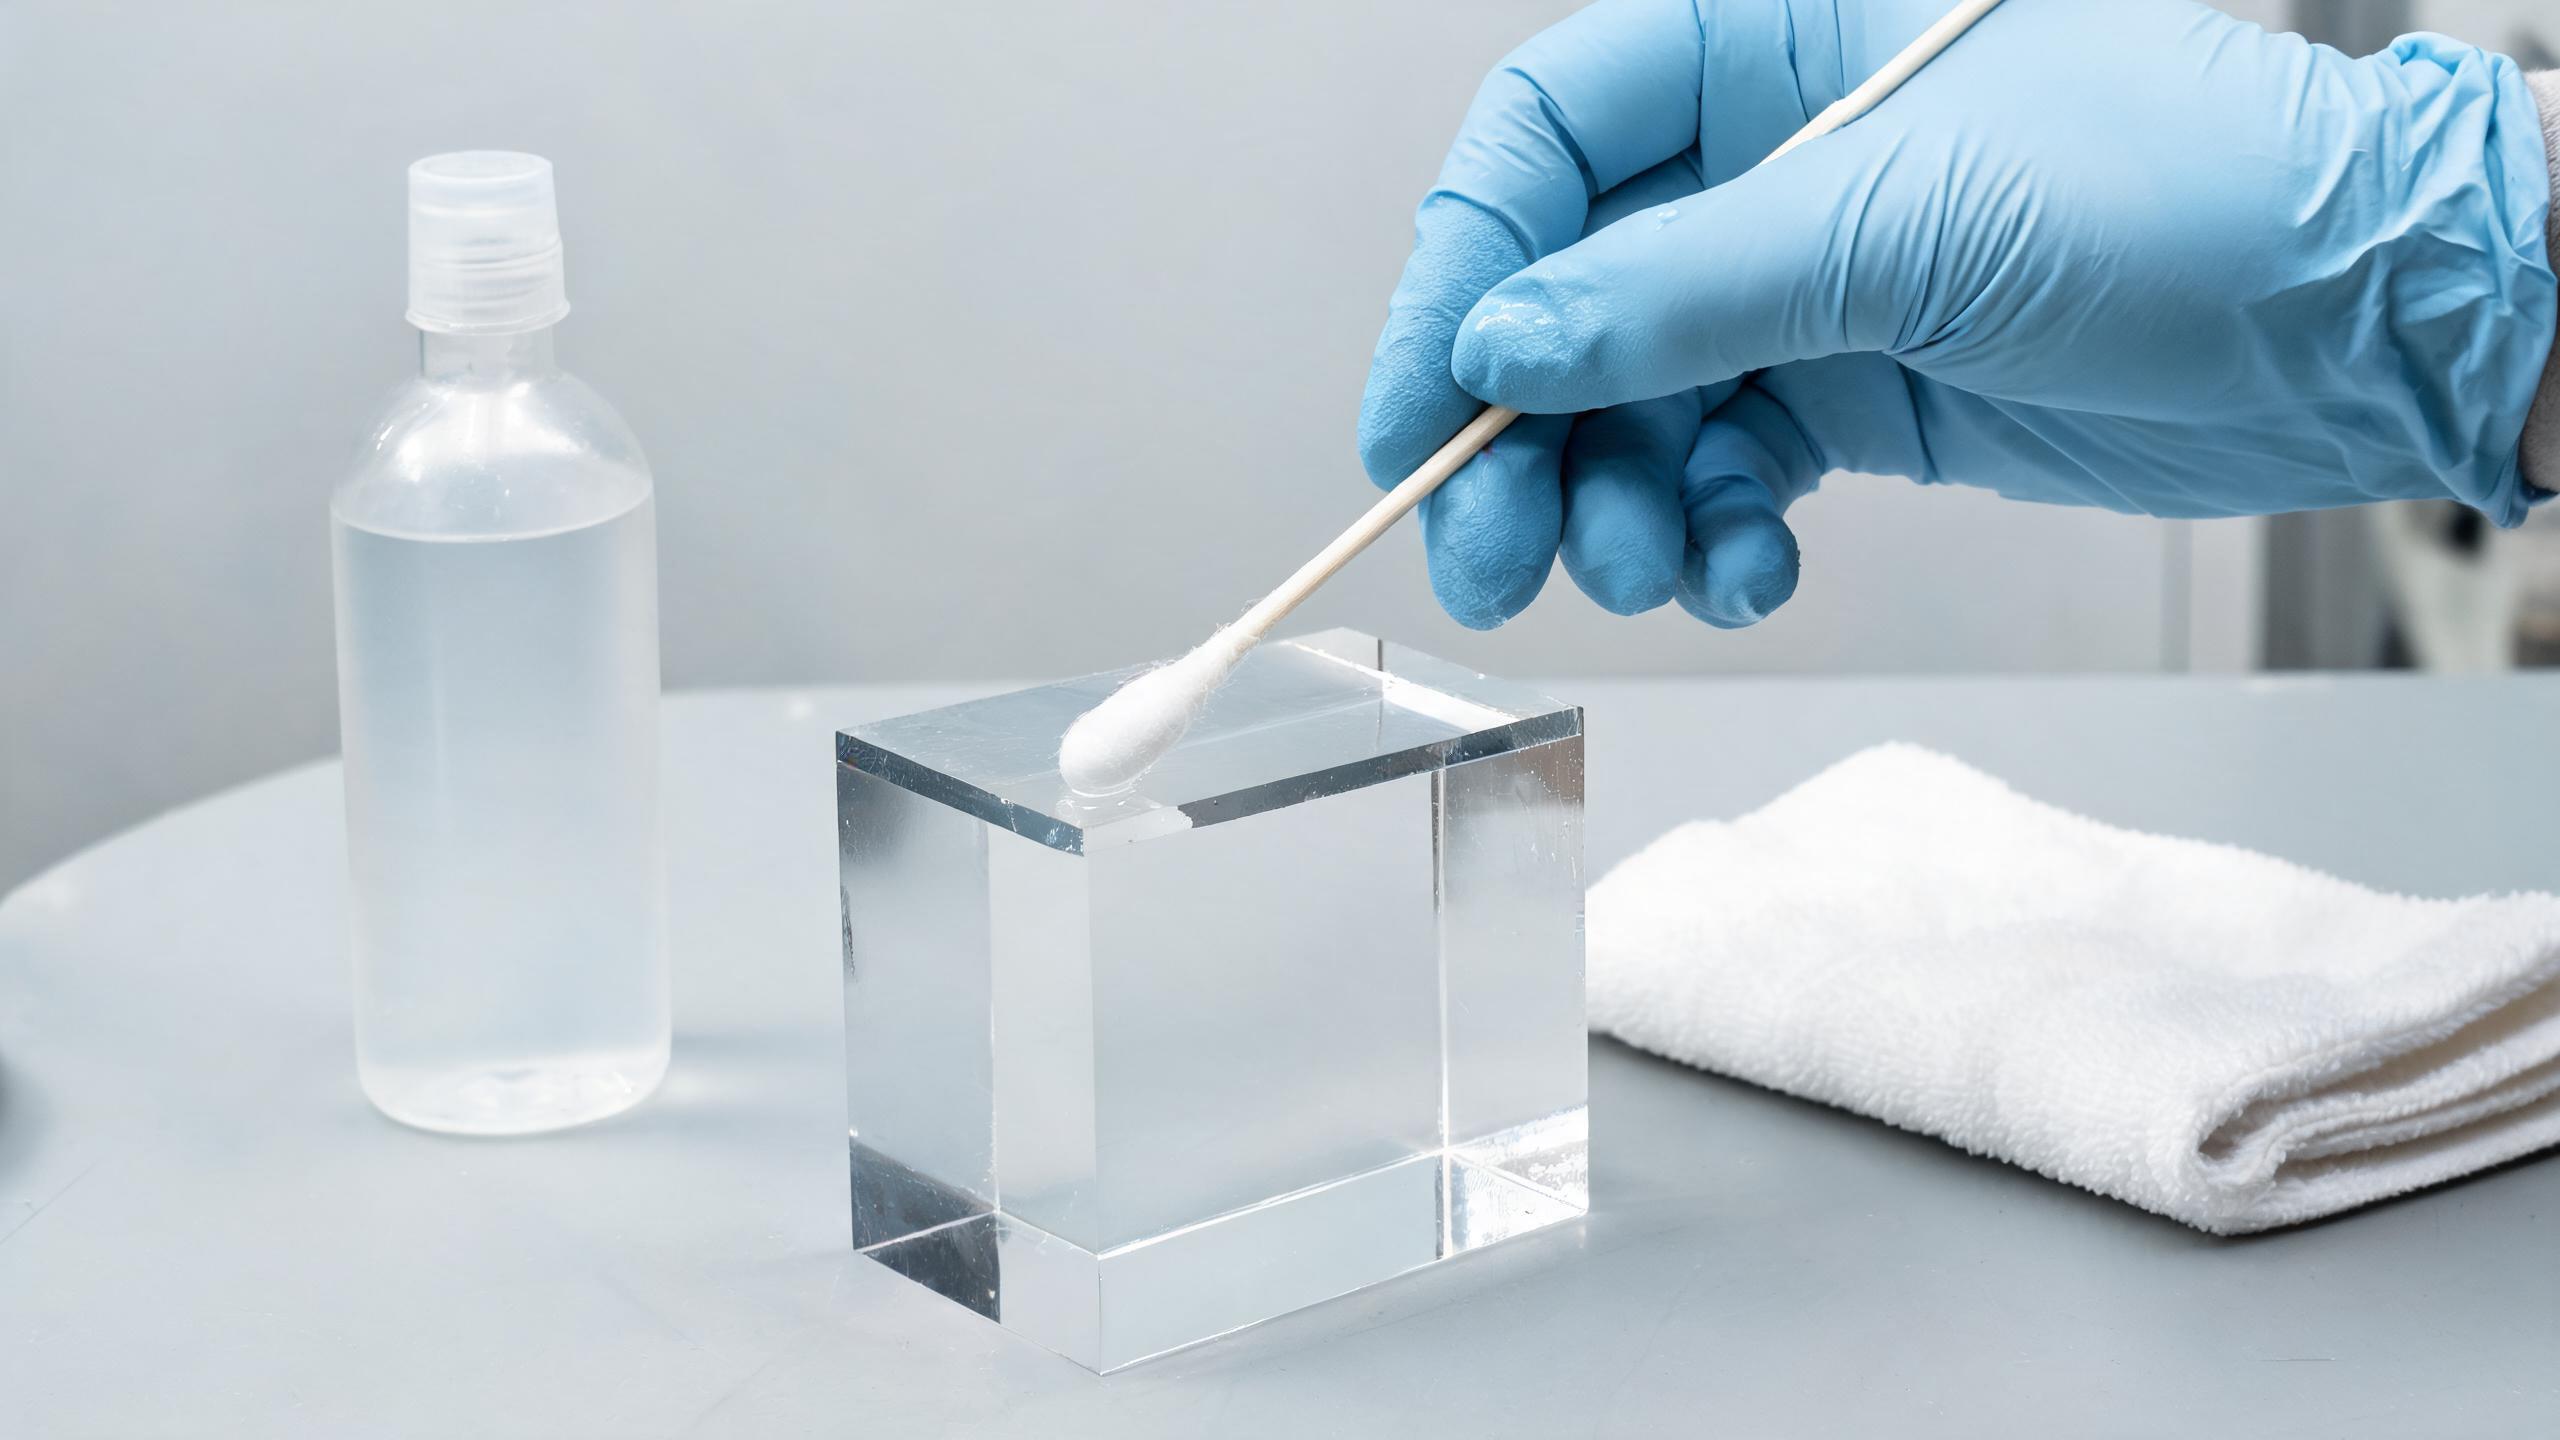
Chemical polishing uses a solvent-based compound to dissolve a microscopic layer of the acrylic surface, leaving it smooth and clear. This method is particularly useful for polishing internal edges, curved surfaces, and complex geometries where mechanical or flame polishing is impractical.
Equipment Needed
- Weldon polishing compound (or equivalent acrylic polish solvent)
- Clean cotton swabs or soft lint-free cloths
- Safety glasses and chemical-resistant gloves
- Well-ventilated workspace
- Respirator rated for organic vapors
Step-by-Step Process
- Pre-finish the edge with sandpaper up to at least 600-grit. Chemical polishing smooths fine imperfections but cannot remove deep scratches.
- Apply the polishing compound to a cotton swab or soft cloth. Do not saturate — a small amount is sufficient.
- Wipe the compound along the edge in smooth, even strokes. The solvent will dissolve a microscopic layer of the surface, filling in minor scratches and creating a smooth, polished appearance.
- Allow to evaporate — do not touch the polished surface while the solvent is still active (typically 30-60 seconds).
- Repeat if necessary for additional clarity. Multiple light applications produce better results than one heavy application.
Important: Chemical polishing compounds contain aggressive solvents. Always use in a well-ventilated area with appropriate respiratory protection. The solvent will attack any acrylic surface it contacts, so apply carefully and protect adjacent areas with masking tape.
Method 4: Diamond Polishing (Professional Standard)
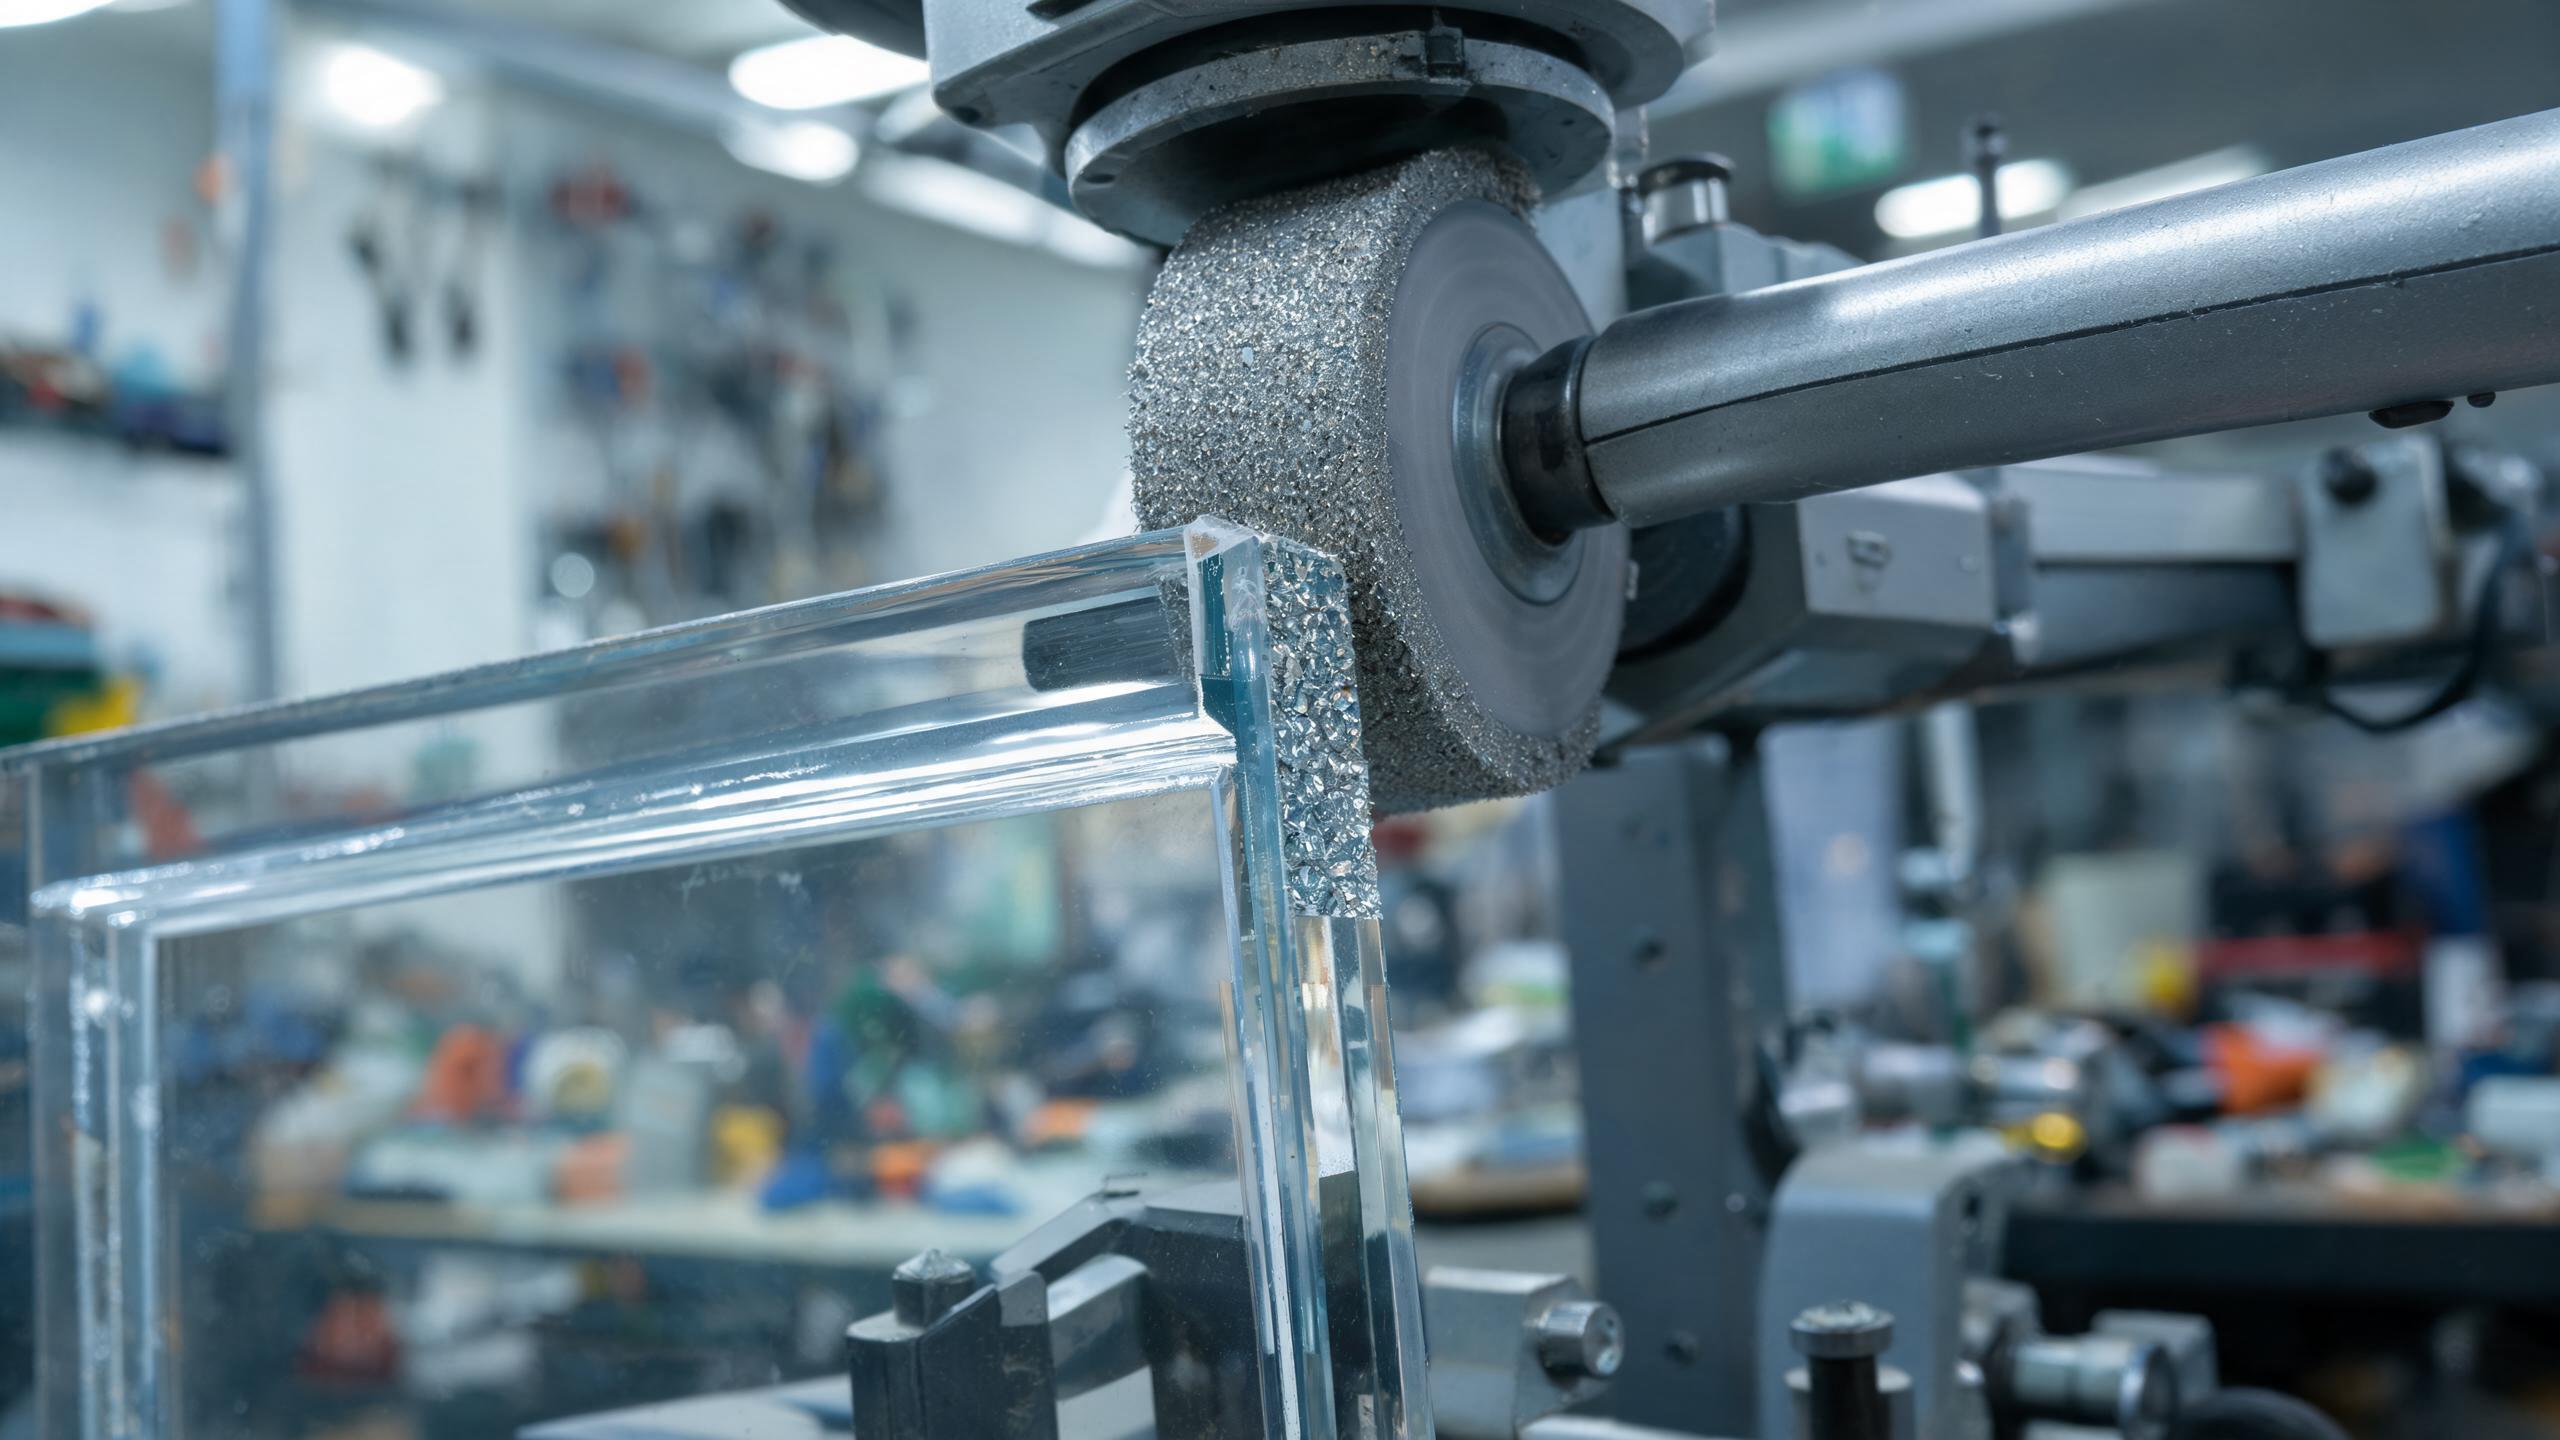
Diamond polishing is the gold standard for achieving the highest possible quality finish on acrylic edges. It uses diamond-impregnated pads or wheels to abrade the surface with extreme precision, producing optically perfect edges that are indistinguishable from the original sheet surface.
Equipment Needed
- Diamond polishing pads (typically 3-micron, 1-micron, and 0.5-micron grits)
- Variable-speed polisher or bench-mounted buffing wheel
- Water cooling system (continuous water flow to the polishing surface)
- Safety glasses
Step-by-Step Process
- Pre-finish the edge with sandpaper up to 800-1,200 grit.
- Mount the coarsest diamond pad (3-micron) on the polisher.
- Apply continuous water flow to the polishing surface to prevent heat buildup and carry away debris.
- Polish the edge with light, even pressure. Move the pad continuously to avoid creating localized heat spots.
- Progress to finer pads (1-micron, then 0.5-micron), polishing until each stage produces a uniform finish.
- Buff with a clean cloth to remove any residue and reveal the final polished surface.
Diamond polishing is primarily used by professional fabricators and is overkill for most DIY applications. However, if you are producing museum-quality display cases, premium awards, or architectural installations, the investment in diamond polishing equipment delivers results that no other method can match.
Choosing the Right Polishing Method
| Method | Best For | Skill Level | Speed | Finish Quality |
|---|---|---|---|---|
| Mechanical (sandpaper) | Flat edges, beginners, any project | Beginner | Slow (30-60 min per edge) | Very good |
| Flame polishing | Straight edges, cast acrylic | Intermediate | Fast (seconds per edge) | Excellent |
| Chemical polishing | Internal edges, curves, complex shapes | Beginner | Medium (5-10 min per edge) | Good to very good |
| Diamond polishing | Professional/premium applications | Advanced | Medium (10-20 min per edge) | Perfect |
When You Need Polished Acrylic Edges
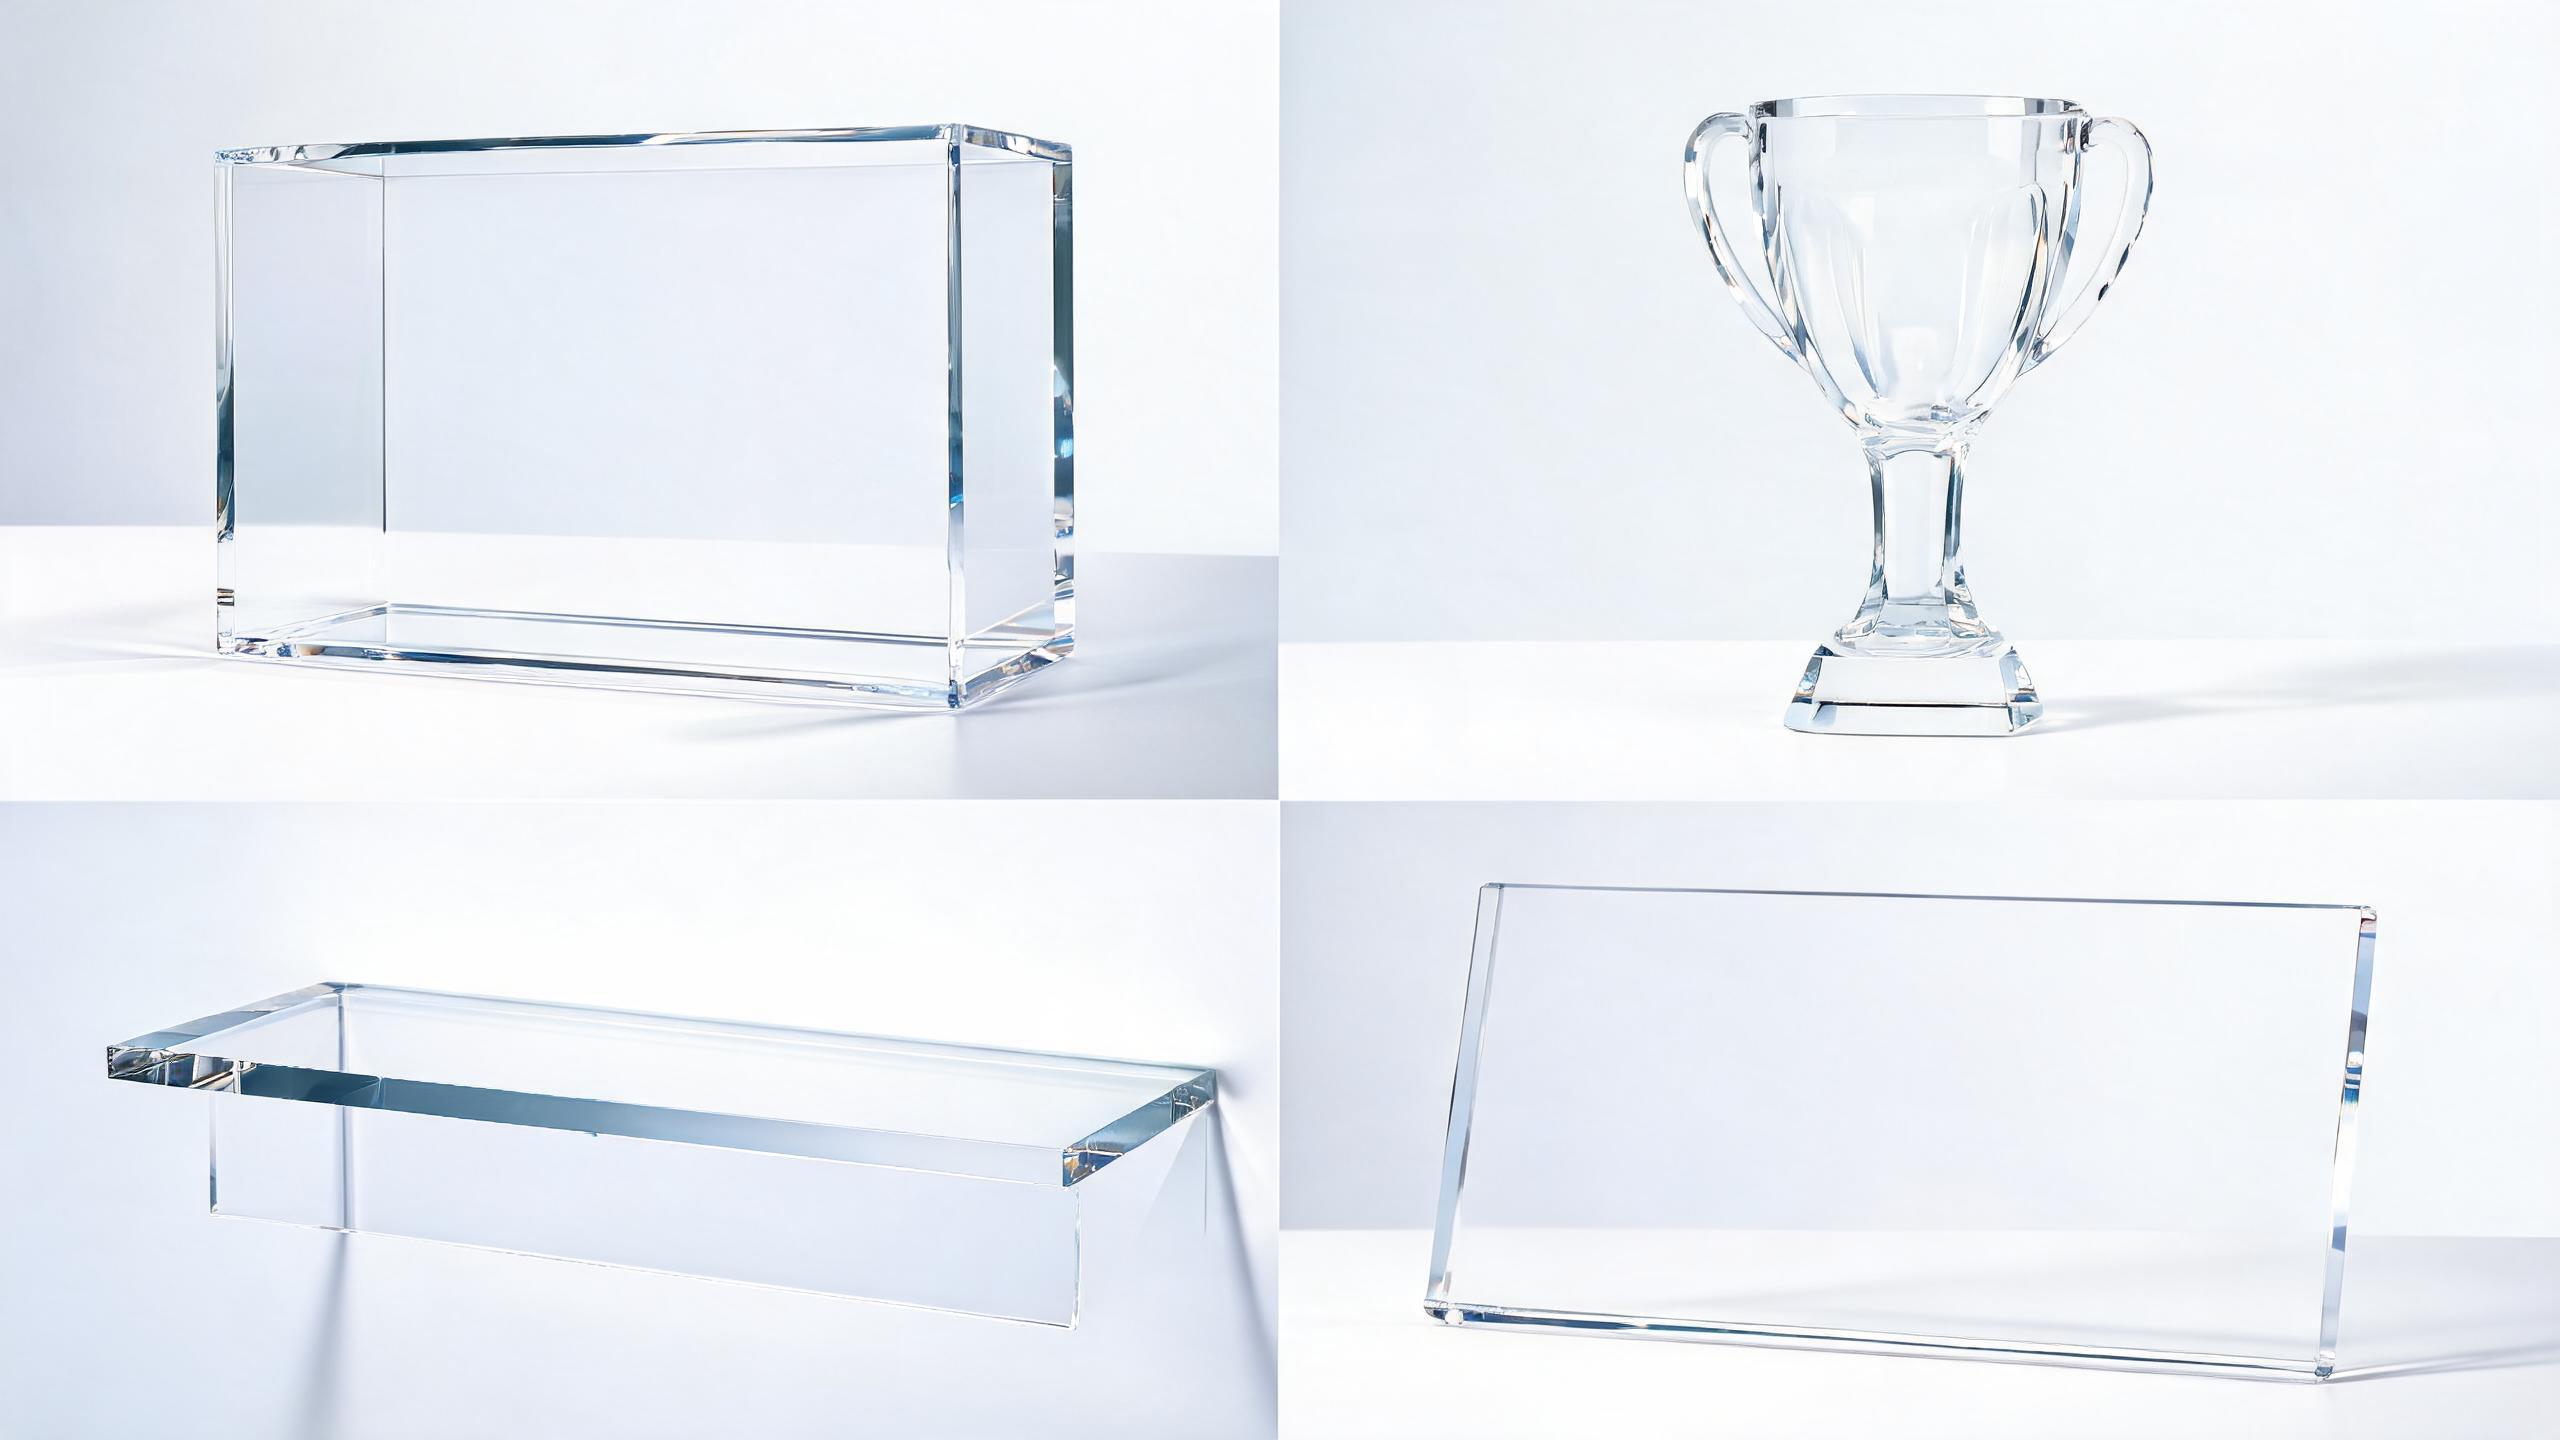
Edge polishing transforms acrylic from a basic plastic sheet into a premium finished product. Here are four common scenarios where polished edges make a real difference in the final result.
DIY Acrylic Shelf Project
Homeowners cutting acrylic for floating shelves or bathroom organizers quickly discover that raw cut edges look cloudy and unfinished. Polishing the visible front edge of shelf material creates a glass-like, high-end appearance that justifies the effort. This is especially important in bathrooms and kitchens where edges are at eye level.
Aquarium Repair and Modification
Aquarium hobbyists modifying tanks or building custom acrylic sumps and refugiums need clean, polished edges on new baffles and overflow boxes. Polished edges look more professional and allow better light transmission through the aquarium. Clear edges also make it easier to see water levels and monitor equipment inside the sump.
Sign Making and Fabrication Shop
Professional sign shops polish acrylic edges on letter signs, panel signs, and dimensional logos to achieve a finished, store-ready appearance. Edge-polished acrylic letters catch light beautifully, especially when edge-lit with LEDs. Signs with polished edges command higher prices and convey quality craftsmanship to customers.
Home Craft and Hobby Projects
Crafters making acrylic keychains, jewelry stands, display boxes, and other small projects use edge polishing to elevate their work from homemade to handmade-professional. Even basic projects look dramatically better with clear, polished edges rather than rough-cut ones, making the extra time well worth it for items you plan to sell or gift.
Common Mistakes and Solutions
| Mistake | Consequence | Solution |
|---|---|---|
| Skip grits during sanding | Visible scratch patterns in final finish | Always progress through every grit; completely remove previous grit scratches before advancing |
| Dry sanding | Clogged paper, excessive heat, poor finish | Always wet-sand with water lubrication |
| Flame polishing too long | Blistering, bubbling, warping | Quick passes only; multiple light passes beat one heavy pass |
| Not pre-finishing before flame polishing | Imperfections visible through clear surface | Sand to at least 320-grit before flame polishing |
| Chemical polish on unprepared edges | Uneven finish, visible scratches remain | Sand to at least 600-grit before chemical polishing |
| Using dirty polishing cloths | Scratches and debris in finish | Use fresh, clean cloths for each polishing stage |
Conclusion: Polished Edges Define Professional Quality
The difference between an amateur acrylic project and a professional one is most visible at the edges. Rough, frosted edges immediately signal DIY work, while crystal-clear, polished edges convey craftsmanship and quality. Investing the time to properly polish your acrylic edges — whether through mechanical sanding, flame polishing, chemical polishing, or diamond polishing — elevates every project from good to exceptional.
Start with mechanical polishing as your foundation technique, then add flame polishing as your skills develop. For most DIY and small professional projects, these two methods cover the full range of polishing needs. Reserve chemical and diamond polishing for specialized applications where their unique capabilities are required.
For the complete acrylic fabrication workflow, explore The Complete Guide to Acrylic Sheet Fabrication.

Frequently Asked Questions
How do you make acrylic edges clear?
Wet-sand with progressively finer grits (220 through 1,200), then buff with plastic polish compound. For flat edges, flame polishing produces a glass-like finish quickly.
Can you flame polish extruded acrylic?
No. Extruded acrylic contains internal stresses that cause blistering when exposed to flame heat. Use cast acrylic for flame polishing.
What is the best polish for acrylic edges?
Novus #2 followed by Novus #1 works well for mechanical polishing. For chemical polishing, Weld-on polishing compound is the professional standard.
Can I polish acrylic with a Dremel?
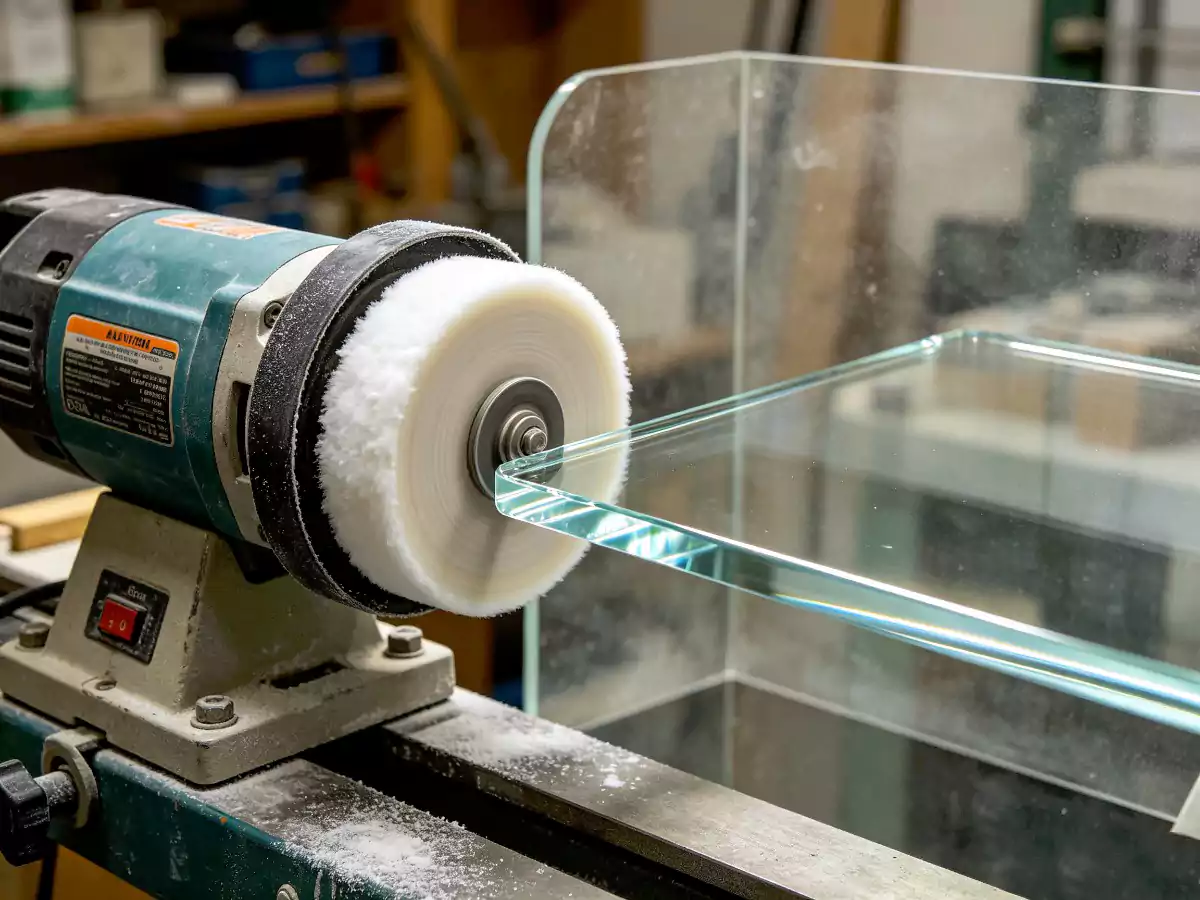
Yes, at low speed with a felt polishing wheel and plastic polish compound. High speeds generate too much heat and can melt the acrylic.
How do I remove scratches from acrylic?
Light scratches respond well to Novus #2 polish and a microfiber cloth. Medium scratches need wet-sanding starting at 600-grit. Deep scratches start at 220-grit.
Can you polish acrylic edges by hand without power tools?
Yes. Wet-sanding by hand with a sanding block followed by hand buffing with polish compound works well for small projects, though it takes longer.
How long does it take to polish acrylic edges?
A 12-inch edge takes 15-30 minutes by hand. Flame polishing takes just seconds per edge but requires practice to master.