

Acrylic looks beautiful when it’s clean — crystal clear, glossy, and almost indistinguishable from glass. But let it go too long without proper cleaning, and it quickly develops a hazy, scratched, dull appearance that cheapens the whole piece. The tricky part is that many common cleaning products and methods actually damage acrylic instead of helping it. Ammonia-based cleaners, paper towels, and abrasive scrubbers can all cause permanent surface damage. This guide covers everything you need to know to keep your acrylic sheets, displays, and products looking like new for years.
Why Proper Cleaning Matters for Acrylic
Acrylic is one of the most beautiful materials you can work with — its glass-like clarity and brilliant shine make it the perfect choice for displays, signage, and protective barriers. But that same beauty is also its vulnerability. Unlike glass, acrylic is a soft plastic that can be scratched by seemingly harmless materials. A single careless wipe with the wrong cloth or cleaning solution can leave permanent marks that dull the surface forever.
Proper cleaning isn’t just about aesthetics, though that’s certainly important for retail environments and customer-facing displays. It’s about protecting your investment. High-quality acrylic products represent a significant expenditure, and premature replacement due to scratching or chemical damage is an unnecessary cost Read more in our acrylic vs polycarbonate guide. With the right techniques and products, your acrylic sheets and displays can maintain their showroom-fresh appearance for years, even in high-traffic environments.
The good news is that cleaning acrylic properly is straightforward once you understand the principles. It requires no expensive specialty products and takes only slightly more care than cleaning glass. The difference in results, however, is dramatic. Well-maintained acrylic literally looks better than new because it develops a depth of clarity that factory-fresh sheets take time to achieve. Read our acrylic vs polycarbonate guide to learn more.
Essential Cleaning Supplies You’ll Need
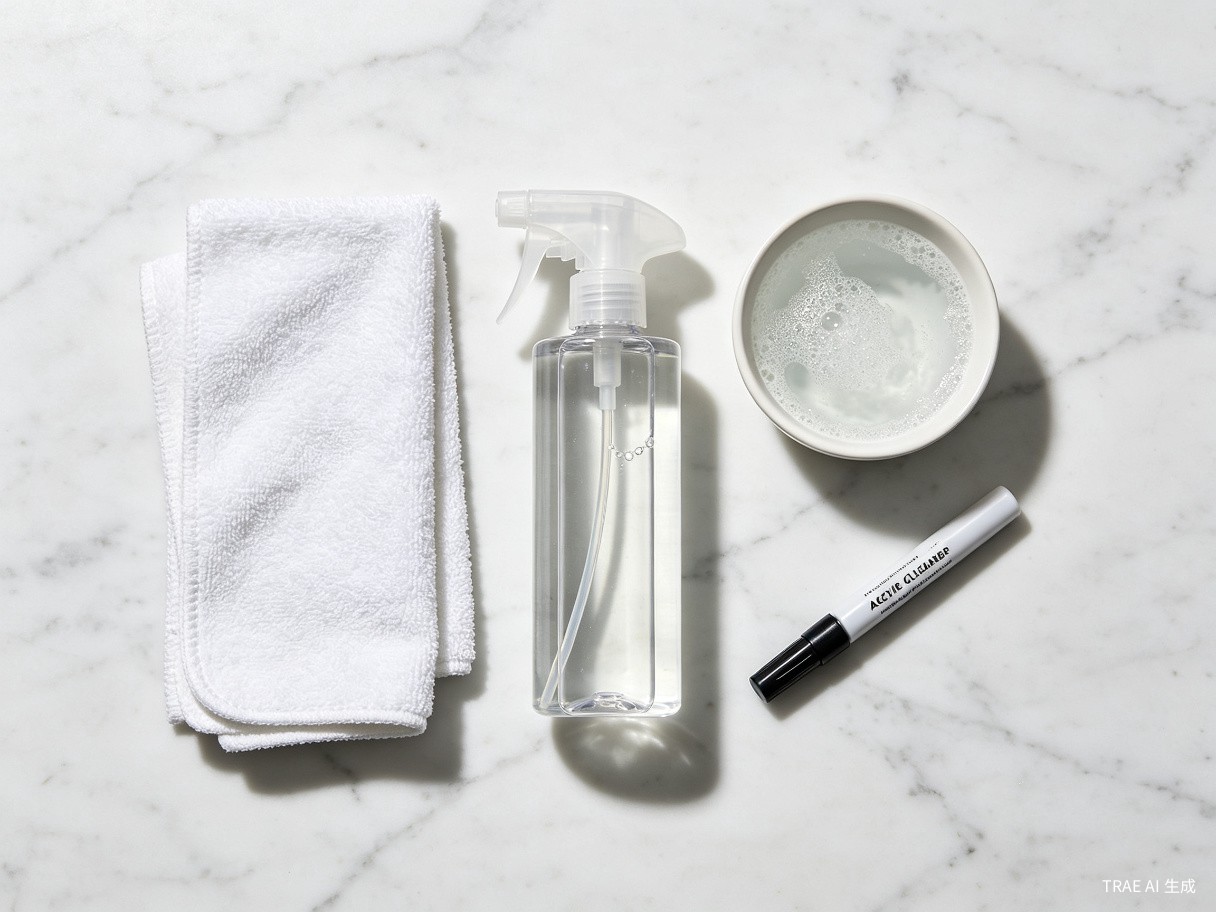
Before we dive into techniques, let’s gather the right supplies. Having everything ready prevents the temptation to grab whatever’s nearby — which is usually how acrylic gets damaged in the first place. Read our acrylic thickness guide guide to learn more.
The Right Cloth: Microfiber is your best friend. A high-quality, lint-free microfiber cloth is the single most important tool in your acrylic cleaning kit. It lifts dust and fingerprints without scratching. Avoid paper towels, tissues, newspaper (yes, some people still use this for glass), and any cloth with a rough texture. Even seemingly soft materials like cotton t-shirts can leave micro-scratches over time.
The Right Solution: Warm water with a small amount of mild dish soap is all you need for routine cleaning. Look for a gentle, pH-neutral dish soap without added moisturizers, fragrances, or abrasives. For a ready-made option, specialized acrylic cleaners are available, but they’re not strictly necessary. What you absolutely must avoid are ammonia-based products (like Windex), acetone, alcohol-based cleaners, and any solvent. These chemicals will cause micro-cracking known as crazing, which permanently clouds the surface.
Optional But Helpful: A soft-bristled brush for crevices and textured areas, distilled water for final rinsing in areas with hard tap water, and a rubber squeegee for large flat surfaces. A can of compressed air is also useful for removing dust from displays without touching them at all.
Step-by-Step Daily Cleaning Routine
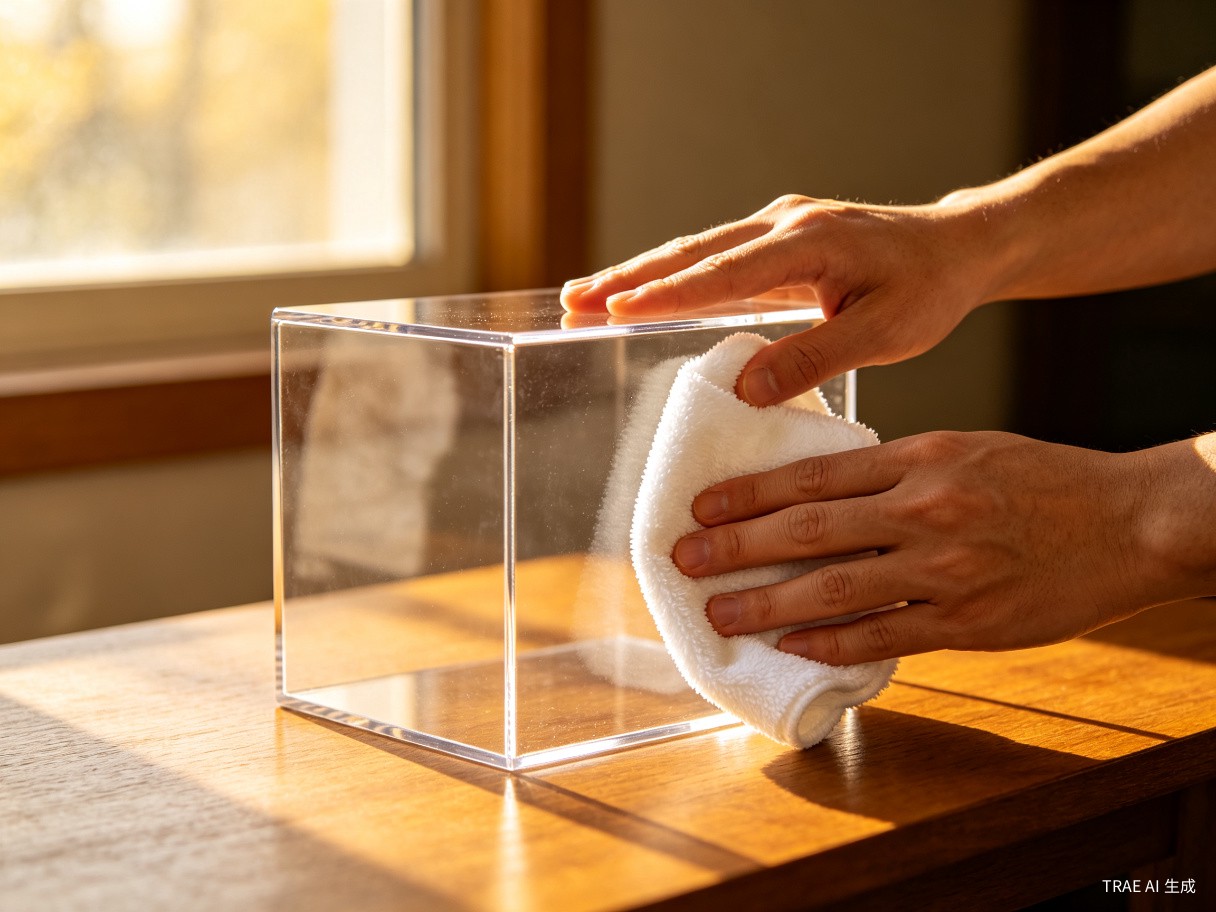
Daily maintenance is your first line of defense against buildup. For retail displays and high-visibility acrylic surfaces, a quick daily clean prevents the accumulation of fingerprints, dust, and environmental residue that becomes harder to remove over time.
Step 1: Dust First. Use a dry microfiber cloth to gently wipe away loose dust. Don’t press hard — let the cloth’s electrostatic properties do the work. For displays with intricate shapes or corners, use compressed air to blow dust out of crevices before wiping.
Step 2: Prepare Your Solution. Fill a spray bottle with lukewarm water and add two or three drops of mild dish soap. Shake gently to mix without creating excessive foam. The water should feel slightly warm to the touch — not hot. Hot water can cause thermal stress on acrylic surfaces.
Step 3: Wipe Gently. Spray the solution onto your microfiber cloth (not directly onto the acrylic, to avoid overspray onto surrounding surfaces). Wipe the acrylic in a single direction using light, even pressure. Avoid circular motions, which can create visible swirl marks. Work from top to bottom so any residual solution drips downward rather than onto areas you’ve already cleaned.
Step 4: Dry Immediately. Use a second dry microfiber cloth to buff the surface dry before the water evaporates naturally. Air-drying leaves water spots, especially in areas with hard water. A quick buff also brings out that brilliant shine that makes acrylic look its best.
Deep Cleaning for Stubborn Stains
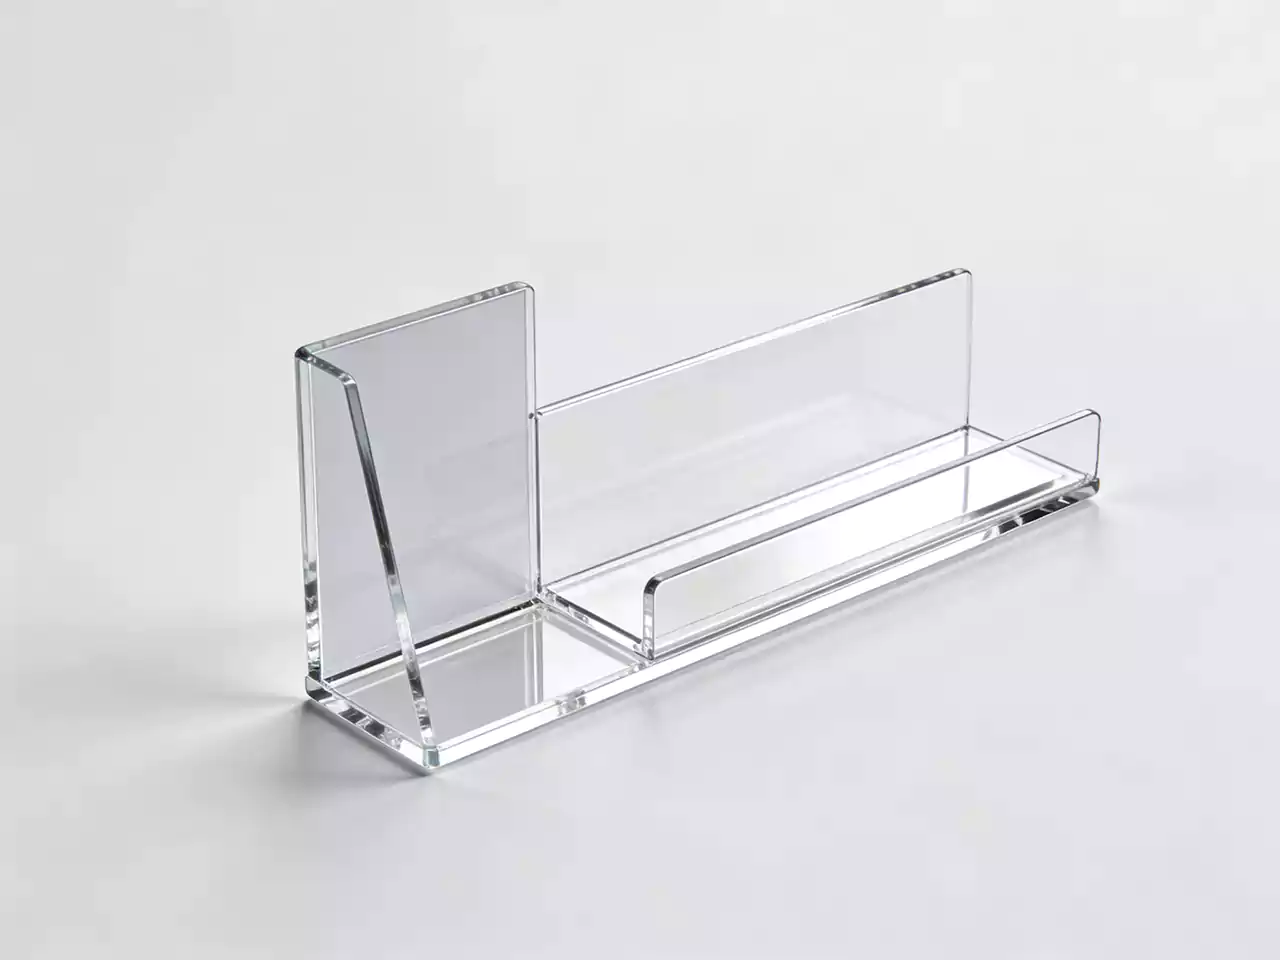
Sometimes daily cleaning isn’t enough. Adhesive residue from labels, grease marks from handling, or stubborn water spots require a more targeted approach. The key is patience and gentleness — never force anything.
For adhesive residue, apply a small amount of cooking oil or a specialized adhesive remover that’s rated safe for plastics. Let it sit for a few minutes to soften the adhesive, then gently wipe it away with a microfiber cloth. Never use razor blades or scrapers on acrylic, as they will scratch the surface.
Grease and oily marks respond well to a slightly stronger soap solution. Increase the dish soap concentration in your spray bottle and apply it directly to the affected area. Let it sit for 30 seconds to break down the grease, then wipe clean. For particularly stubborn grease, you may need to repeat this process two or three times.
Hard water spots can be removed with a solution of equal parts white vinegar and distilled water. The vinegar’s mild acidity dissolves mineral deposits. Apply with a microfiber cloth, let it sit briefly, then wipe clean and dry immediately. Don’t let vinegar solution sit on acrylic for more than a minute or two, as prolonged exposure to acidity can damage the surface over time.
Common Cleaning Mistakes to Avoid
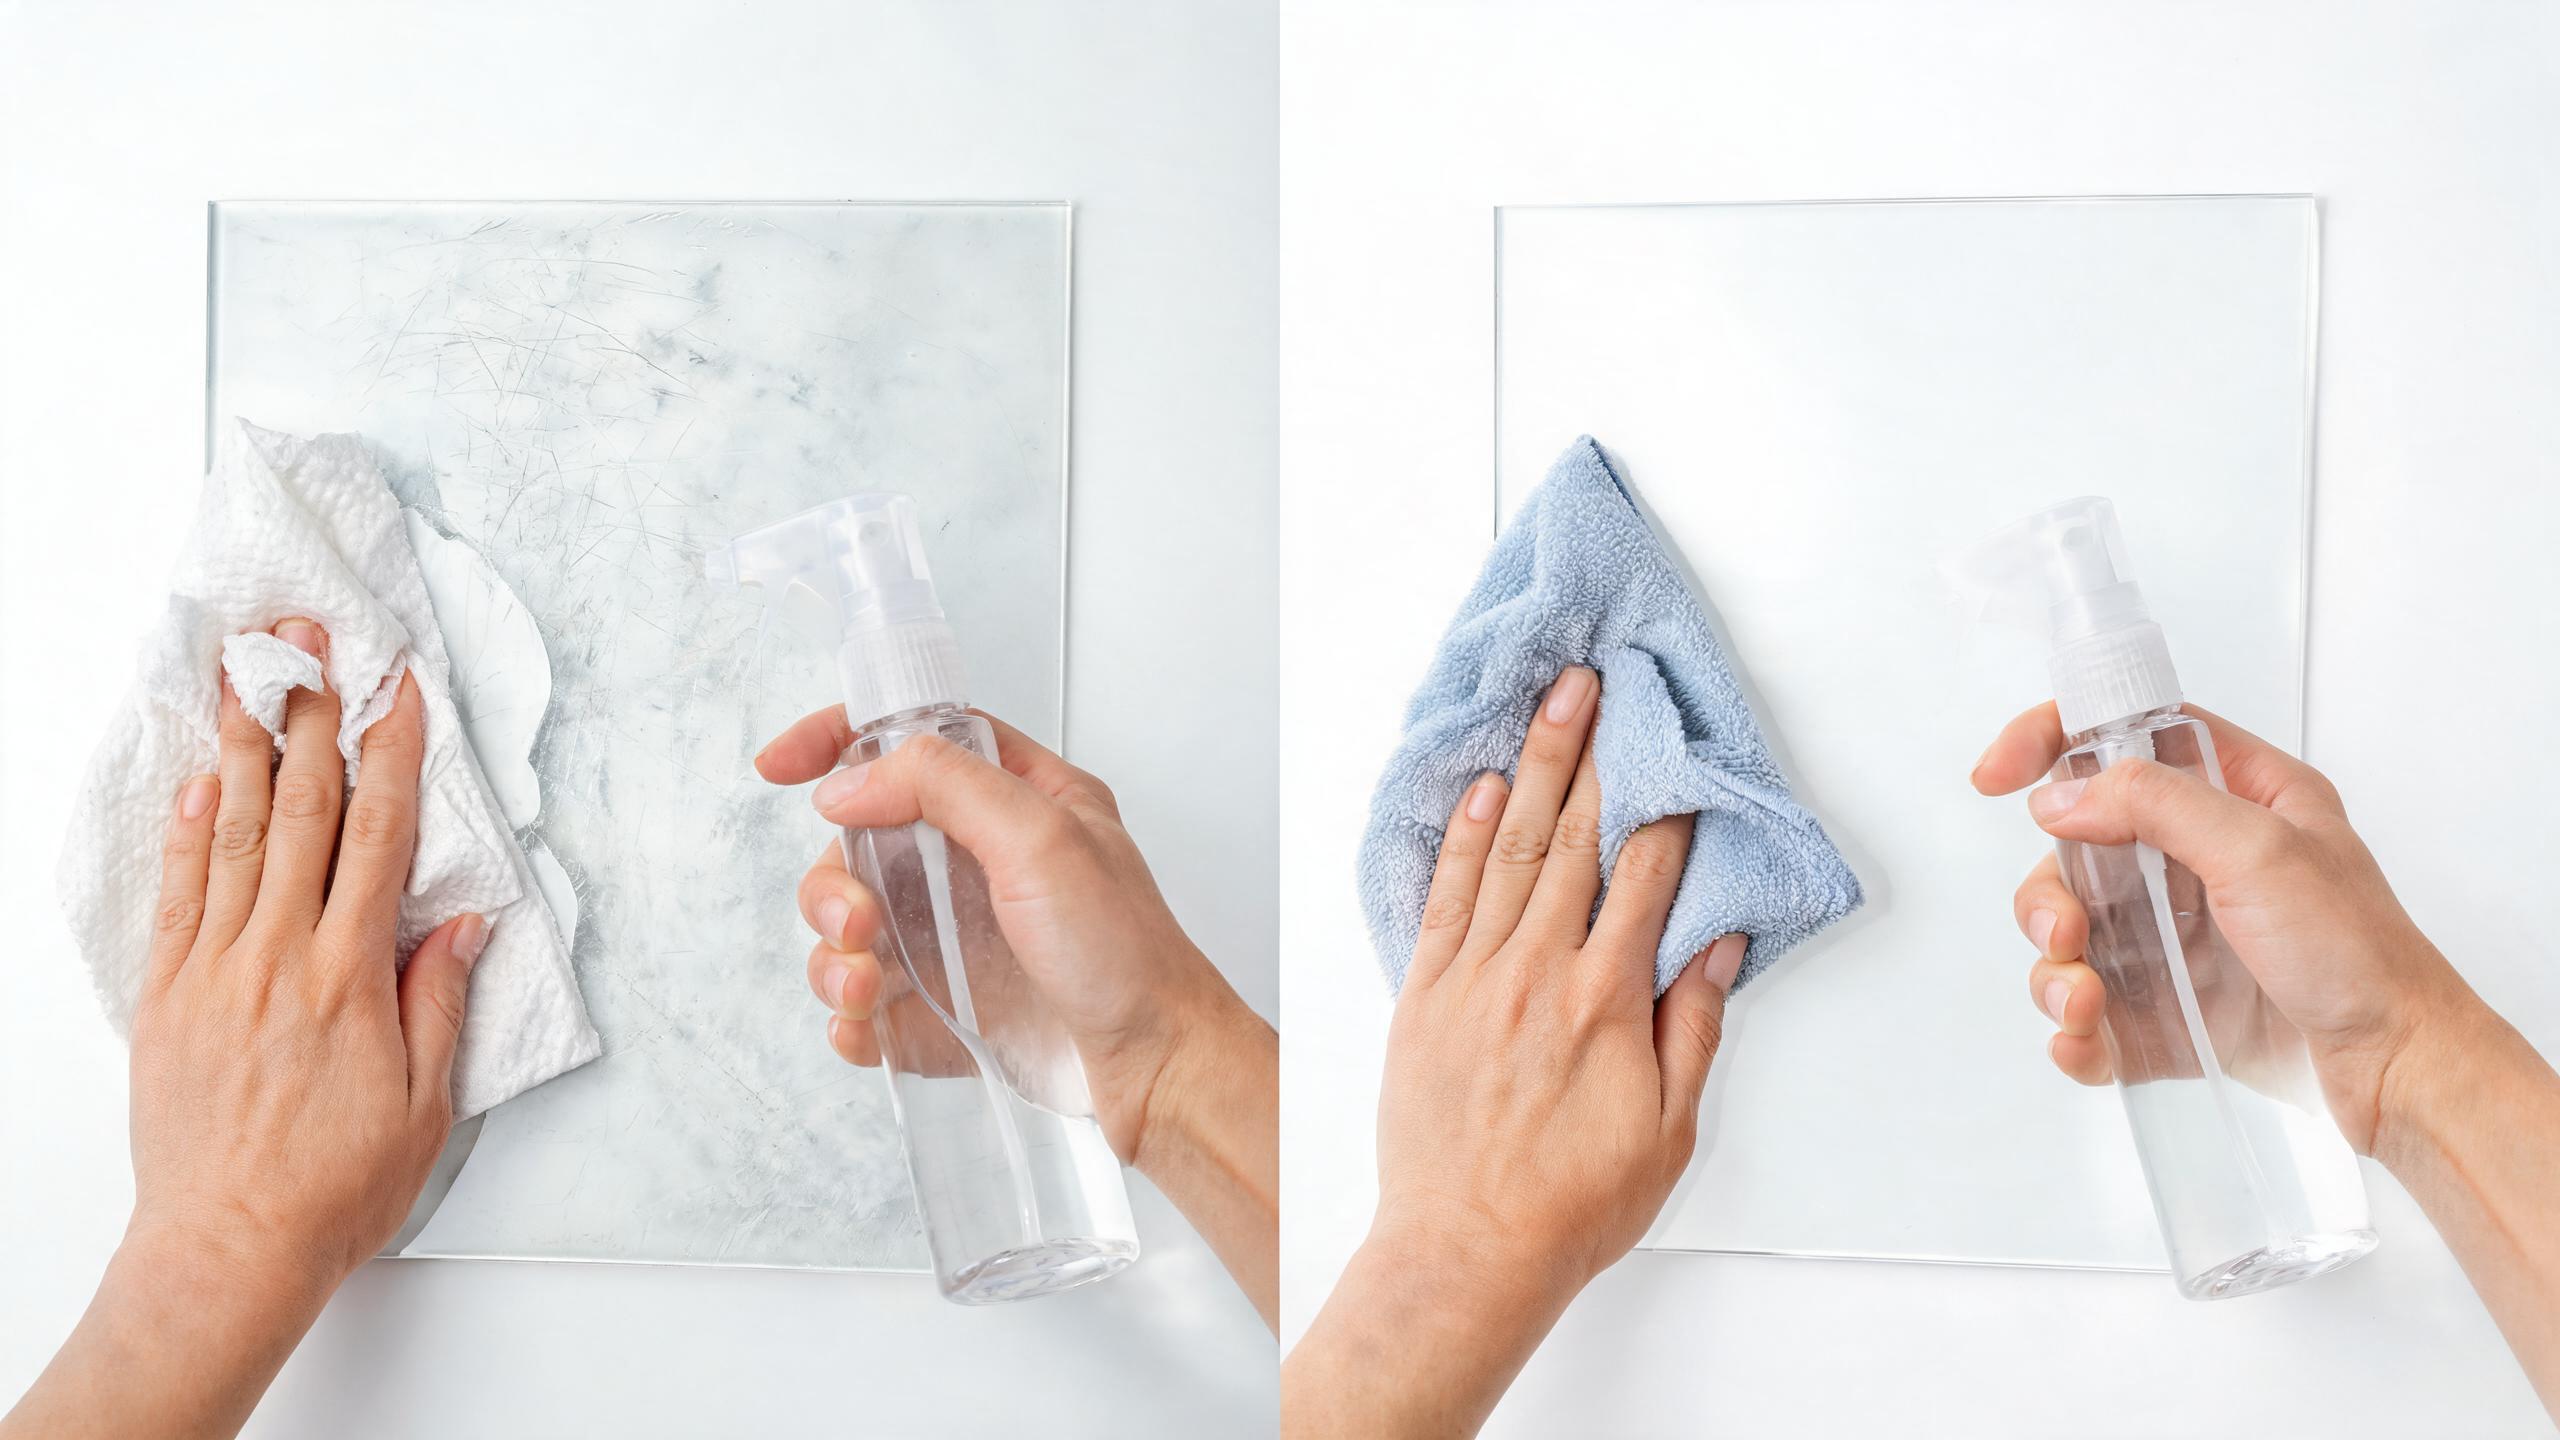
Knowing what not to do is just as important as knowing the right technique. Here are the most common mistakes that damage acrylic, and why they’re so harmful.
Using Glass Cleaners: This is the number one mistake. Almost all commercial glass cleaners contain ammonia, which attacks acrylic at a molecular level. The damage isn’t always immediately visible — it manifests as fine micro-cracking (crazing) that gradually clouds the surface. By the time you notice the damage, it’s permanent. This is especially tragic when it happens to a beautifully custom-cut acrylic piece that looked perfect when it was new.
Using Dry Paper Towels on Dusty Surfaces: Wiping a dusty acrylic surface with a dry paper towel is essentially sandpapering it. The dust particles trapped between the paper and the acrylic create micro-scratches. Always use a damp cloth or remove dust with compressed air first.
Applying Too Much Pressure: Acrylic is flexible. Pressing hard while cleaning can cause the surface to flex microscopically, creating stress patterns that show up as distorted reflections. Light, even pressure is always sufficient.
Using Abrasive Sponges or Pads: Even “gentle” scrubbing sponges are too abrasive for acrylic. The soft side of a kitchen sponge might seem safe, but over time it will create a haze of fine scratches. Stick exclusively to microfiber.
Cleaning in Direct Sunlight: Cleaning acrylic in direct sun can cause the cleaning solution to dry too quickly, leaving streaks. It can also create hot spots that cause thermal stress. Move the item to a shaded area or clean during cooler parts of the day if it’s a fixed installation.
How to Remove Scratches from Acrylic
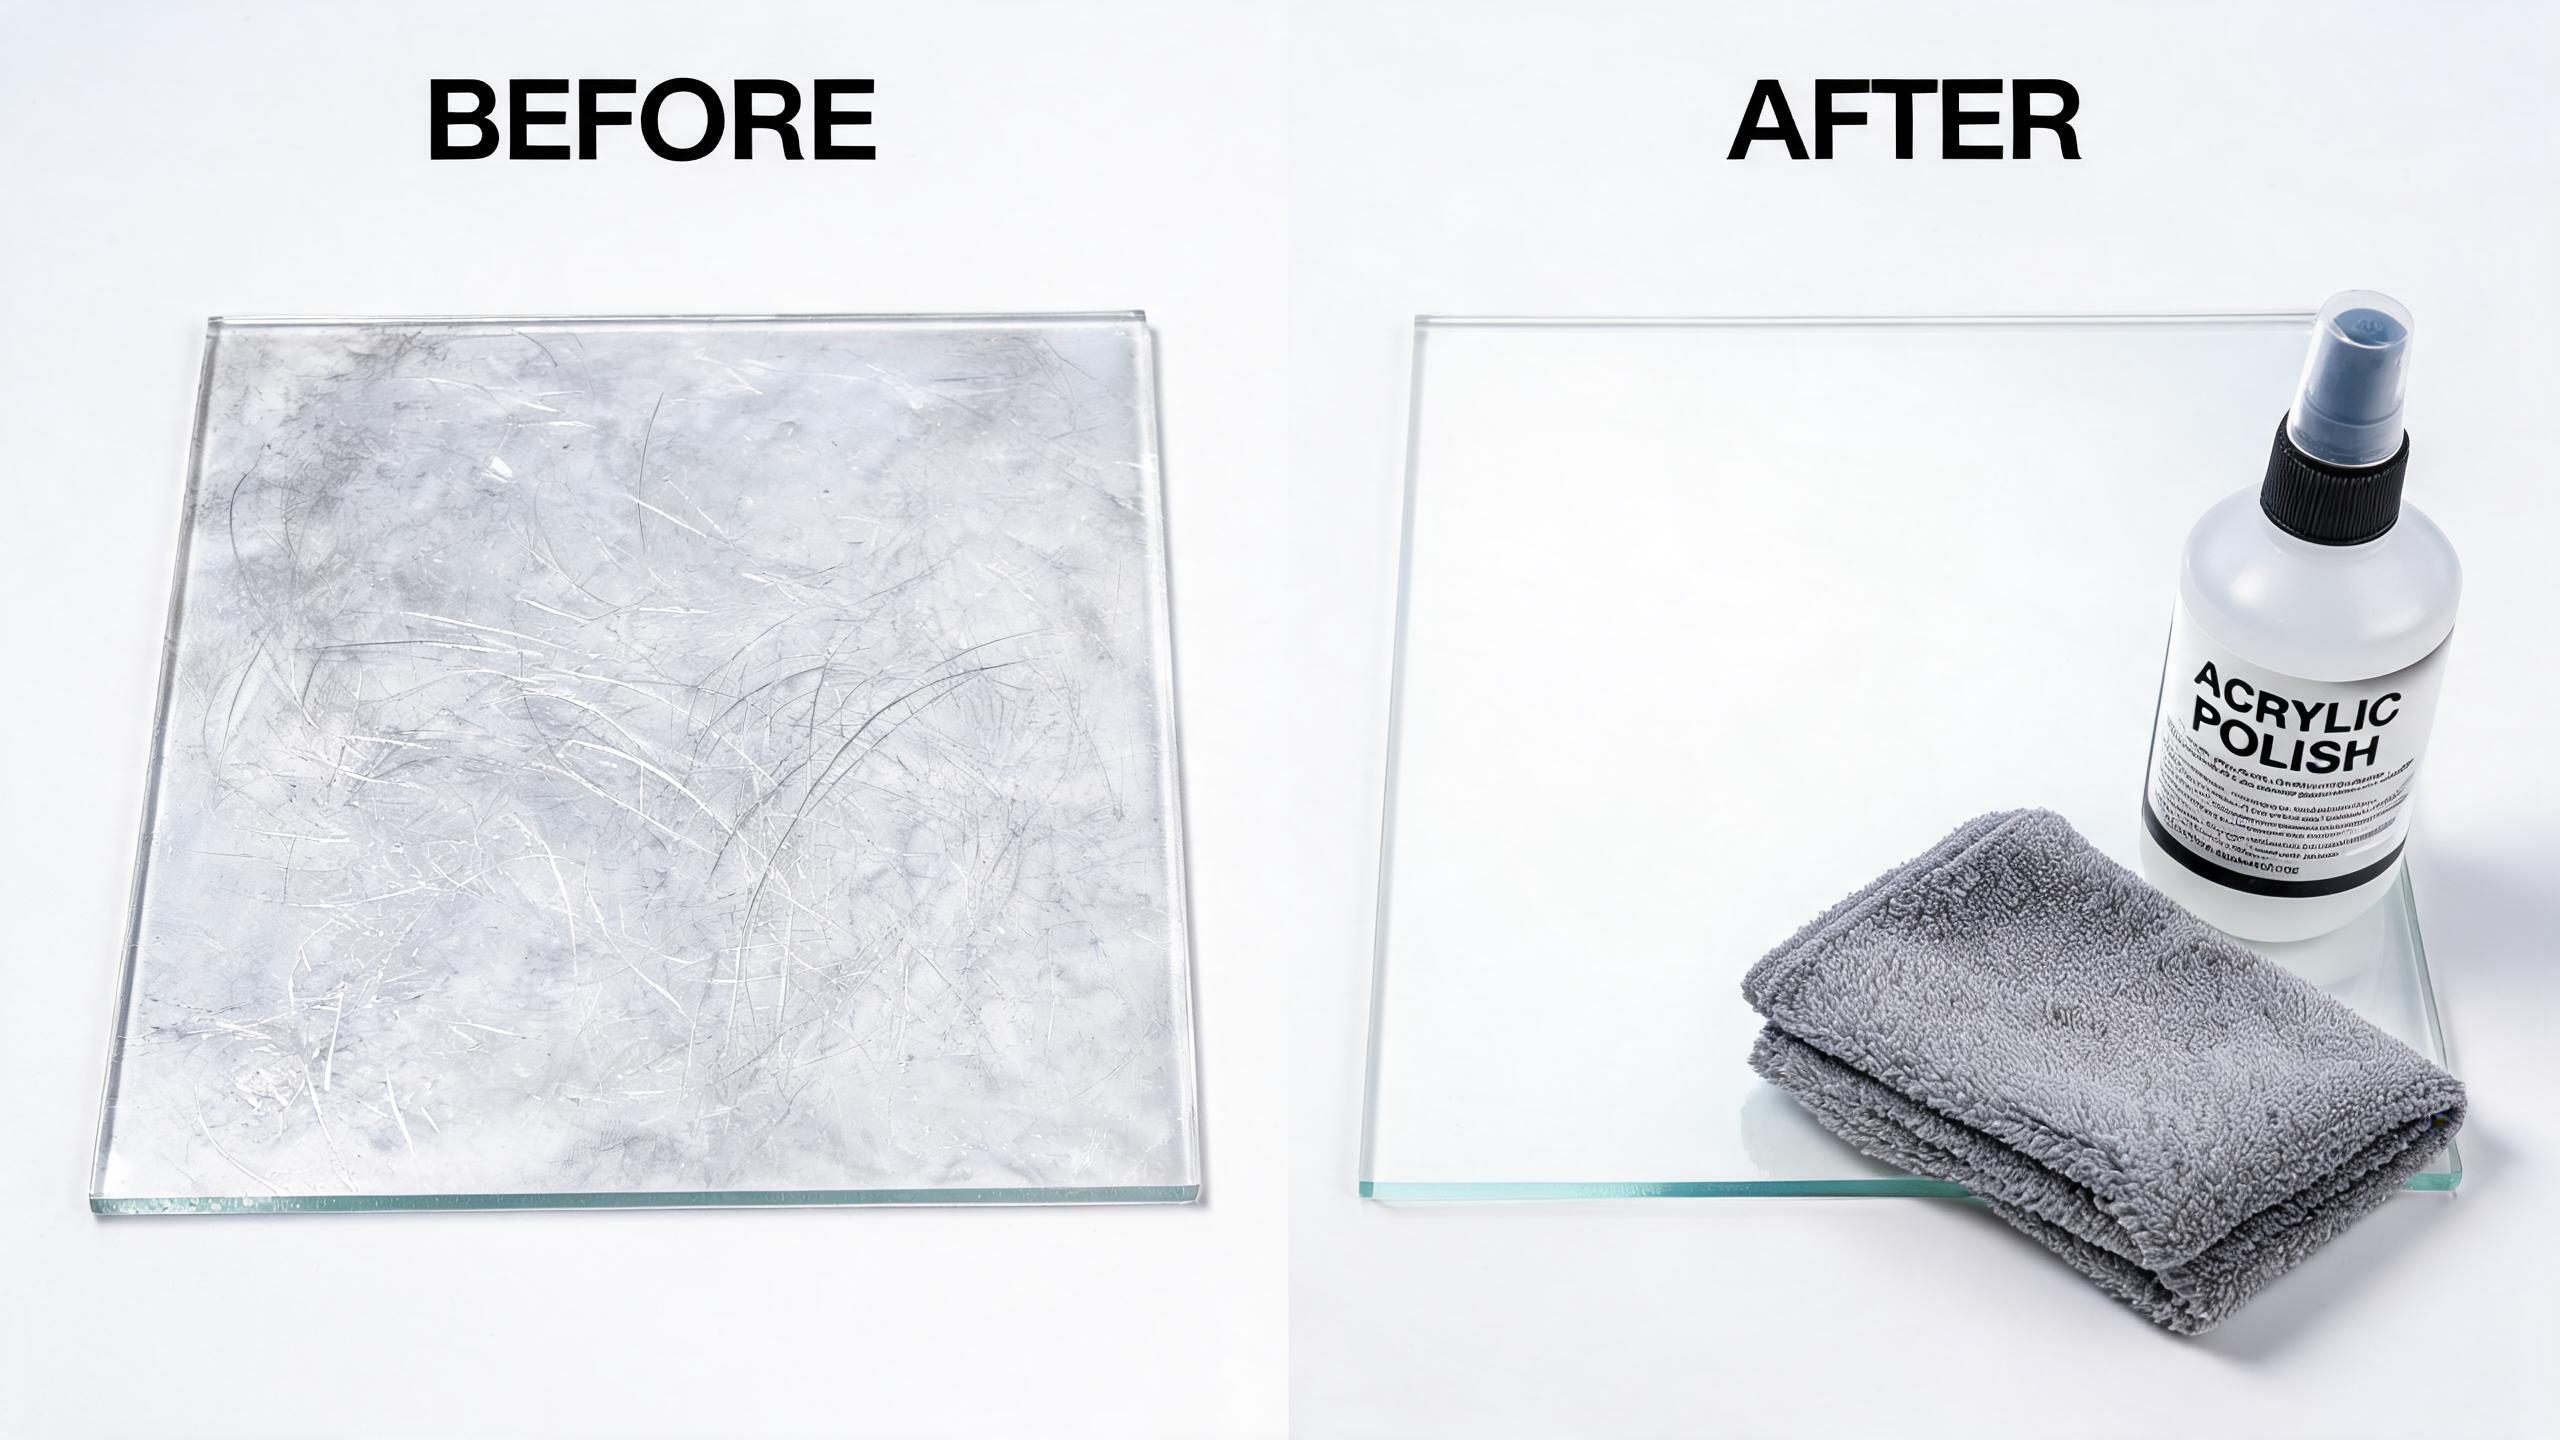
Despite your best efforts, scratches happen. The good news is that minor scratches in acrylic can be repaired, unlike glass. The repair process essentially involves removing a microscopic layer of material around the scratch to create a smooth, level surface again.
For fine scratches and light hazing, use a plastic polish specifically formulated for acrylic. Apply a small amount to a clean microfiber cloth and polish the affected area using circular motions with moderate pressure. Work in small sections and check your progress frequently. Most fine scratches can be removed in a few minutes of polishing.
For deeper scratches, you’ll need to start with wet sanding. Begin with 600-grit wet sandpaper, lubricated with water, and sand the scratch area lightly. Progress through 800, 1000, 1500, and finally 2000-grit paper, each step removing the sanding marks from the previous grit. After wet sanding, finish with plastic polish to restore the optical clarity. This is the same principle used in professional acrylic edge polishing, just applied to flat surfaces.
For scratches that are deep enough to feel with your fingernail, consider consulting a professional acrylic fabricator Read more in our acrylic fabrication guide. Deep scratch removal requires skill and patience, and an inexperienced hand can make the problem worse.
Practical Scenarios for Acrylic Cleaning and Maintenance
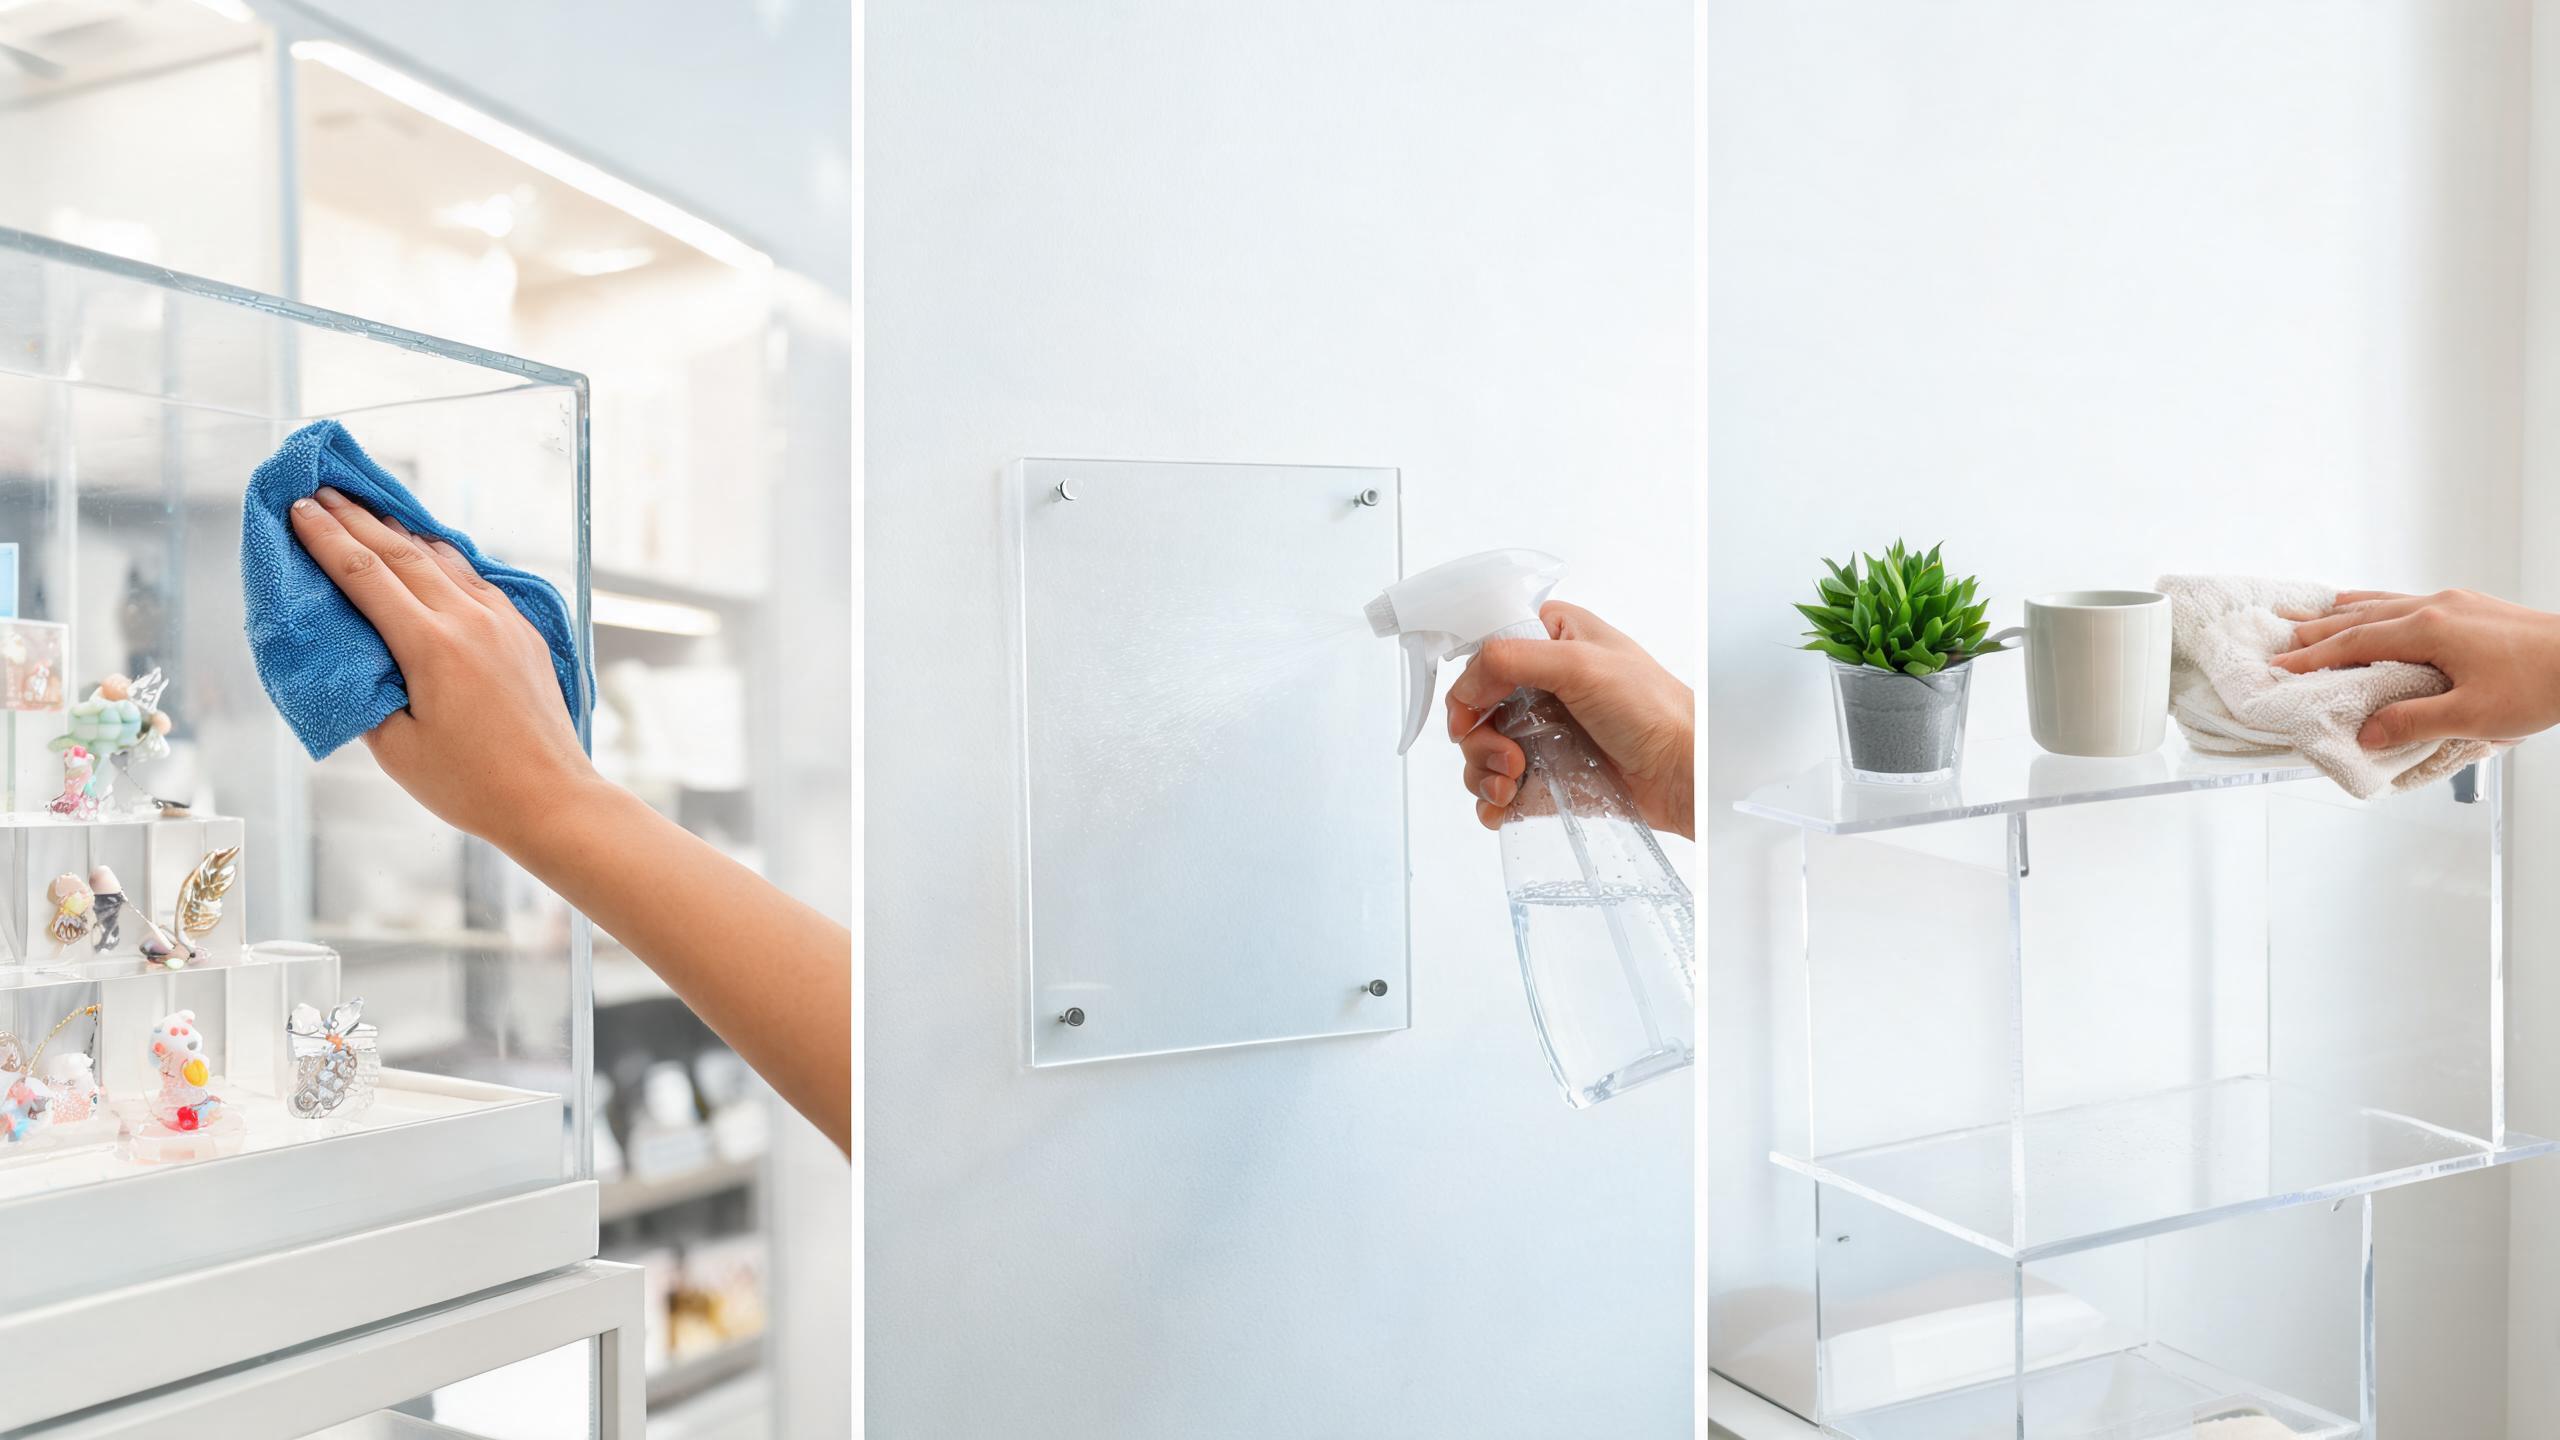
Proper cleaning keeps acrylic looking clear and new for years. Here are four common situations where knowing how to clean acrylic correctly prevents damage and extends the life of your acrylic items.
Aquarium Maintenance Routine
Aquarium owners clean acrylic tank walls regularly to remove algae, mineral deposits, and biofilm. Using the wrong cleaning tools—like scrub brushes or algae pads designed for glass—can permanently scratch the acrylic interior. Proper acrylic aquarium cleaning uses magnetic acrylic-safe scrubbers, soft sponges, and plastic scrapers to remove buildup without damaging the tank walls.
Retail Store Daily Cleaning
Retail stores with acrylic displays, signage, and cases need daily cleaning to remove fingerprints, dust, and product residue. Store employees often reach for all-purpose cleaners or glass cleaner without realizing these can damage acrylic over time. Implementing proper acrylic cleaning procedures with the right products ensures displays stay crystal clear and professional-looking for customers.
Acrylic Window and Skylight Care
Homeowners with acrylic windows, skylights, or sunroom panels need periodic cleaning to remove dust, pollen, and water spots. Pressure washing and harsh chemicals can cause irreversible damage. Gentle hand washing with microfiber mitts and proper acrylic cleaners preserves clarity and prevents scratching. Regular maintenance every 3-6 months keeps acrylic glazing looking its best.
Collectible Display Case Care
Collectors with acrylic display cases for figurines, memorabilia, model cars, or sports memorabilia need to clean both the inside and outside of display cases regularly. Dust accumulation inside cases can be removed with a soft brush or compressed air, while exterior surfaces get wiped with acrylic cleaner. Proper cleaning keeps displays looking pristine while protecting valuable collectibles from dust and UV damage.
Seasonal Maintenance Tips

Different seasons bring different challenges for acrylic surfaces. Adapting your maintenance routine throughout the year helps prevent seasonal damage.
Spring: Pollen season means increased airborne particulates that settle on acrylic surfaces. Increase dusting frequency and consider using an air purifier near valuable displays. Pollen grains, while tiny, have a slightly abrasive texture that can scratch during cleaning if not removed gently first.
Summer: Higher temperatures and humidity can cause condensation on acrylic surfaces, leading to water spots. Ensure adequate ventilation around displays and wipe condensation promptly. If your acrylic is near windows, be aware that intensified UV exposure during summer months can accelerate any degradation in non-UV-resistant grades.
Fall: Falling leaves and increased indoor dust from heating systems require more frequent cleaning. Check that your heating vents aren’t blowing directly onto acrylic displays, as the constant flow of warm air can carry dust and create static that attracts particles.
Winter: Dry indoor air from heating creates static electricity that attracts dust to acrylic surfaces like a magnet. Using a humidifier in the display area can help reduce static buildup. Also, be cautious about placing acrylic near heat sources — radiators and space heaters can cause thermal distortion if too close. If you’re working with thermally formed acrylic pieces, be extra careful about ambient temperature fluctuations during winter months.
With consistent care and the right techniques, your acrylic sheets and displays will continue to impress customers and visitors for years to come. The small investment of time in proper cleaning pays enormous dividends in longevity and visual impact.
Frequently Asked Questions
What is the best cleaner for acrylic?
Use a plastic-specific cleaner like Novus #1 or Brillianize, or mild dish soap with warm water. Apply with a soft microfiber cloth to avoid scratching.
Can you use Windex on acrylic?
No. Windex and other ammonia-based cleaners can cause crazing, clouding, and surface damage to acrylic over time. Stick to plastic-safe cleaners or mild soap and water.
How do you remove scratches from acrylic?
Light scratches respond to plastic polish like Novus #2. Deeper scratches need wet-sanding with progressively finer grits followed by polishing compound.
Can you use rubbing alcohol on acrylic?
Occasional use for disinfecting is usually fine, but regular use can cause surface damage. Test in an inconspicuous area first and avoid prolonged contact.
How do you clean cloudy acrylic?
First, wash with soapy water to remove surface dirt. Then use a plastic polish and microfiber cloth to restore clarity. Severe clouding may require buffing.
Can you use vinegar to clean acrylic?
Vinegar is generally safe for acrylic in small amounts but may dull the finish with repeated use. For regular cleaning, mild dish soap or dedicated acrylic cleaner is a better choice.
How do you remove yellowing from acrylic?
Surface yellowing from UV exposure can sometimes be reduced with plastic polish and buffing. Severe yellowing that penetrates the material is permanent and cannot be fully reversed.