Introduction: The Art and Science of Acrylic Heat Bending
Heat bending (also called thermoforming or line bending) is used in countless applications: curved retail displays, cylindrical aquariums, architectural features, light fixtures, furniture components, boat windshields, and artistic sculptures. The technique is accessible to DIY enthusiasts with basic tools, yet capable of producing results that rival professional manufacturing.
This guide covers every aspect of acrylic heat bending, from understanding the science behind the process to mastering three primary bending methods: strip heater bending, oven forming, and freeform bending Read more in our glue acrylic guide. Whether you are making a simple 90-degree bracket or a complex compound curve, these techniques will give you the knowledge and confidence to succeed.
Understanding the Science: How Heat Affects Acrylic
Acrylic (PMMA — polymethyl methacrylate) is an amorphous thermoplastic, meaning it has no crystalline melting point. Instead of melting sharply at a specific temperature, it gradually softens over a temperature range. Understanding this behavior is critical for successful bending. Read our cut acrylic sheets guide to learn more.
The Critical Temperature Range
- Below 200°F (93°C): Acrylic is rigid and brittle. Attempting to bend will cause cracking or fracture.
- 200-250°F (93-121°C): Acrylic begins to soften but is not yet fully pliable. Bending is possible but requires significant force and may create internal stress.
- 290-310°F (143-154°C): The optimal bending range. Acrylic is fully pliable and can be formed with gentle pressure. This is your target temperature.
- 310-320°F (154-160°C): Still workable but approaching the danger zone. Extended exposure at these temperatures increases the risk of blistering and bubbling.
- Above 320°F (160°C): Danger zone. The acrylic begins to degrade, producing bubbles, blisters, and permanent discoloration.
The golden rule of acrylic bending: heat to 300°F (150°C), never exceed 320°F (160°C). An infrared thermometer is an essential tool for monitoring temperature accurately. Read our glue acrylic together guide to learn more.
Cast vs. Extruded Acrylic for Bending
The type of acrylic significantly affects bending results:
- Cast acrylic: Bends beautifully with minimal bubbling or blistering. The slow casting process creates a uniform internal structure that heats evenly. This is the preferred material for heat bending.
- Extruded acrylic: Contains internal stresses from the manufacturing process that can cause blistering, uneven bending, or spontaneous cracking when heated. If you must bend extruded acrylic, anneal it first by heating the entire sheet to 180°F (82°C) for several hours, then allow it to cool slowly.

Method 1: Strip Heater Bending (Linear Bends)
Strip heater bending is the most common and controllable method for creating straight-line bends in acrylic sheets. A strip heater is an electric heating element mounted in a channel that concentrates heat along a narrow line on the acrylic surface.
Equipment Needed
- Strip heater with adjustable temperature control (or a dedicated acrylic bender)
- Infrared thermometer for temperature monitoring
- Bending jig or form (wooden or metal template for the desired angle)
- Heat-resistant gloves
- Safety glasses
Step-by-Step Process
- Mark the bend line on the acrylic with a fine-tip marker and straight edge. This line indicates where the sheet will bend.
- Remove protective film from the area around the bend line — the film will scorch or catch fire at bending temperatures.
- Position the acrylic on the strip heater with the bend line centered over the heating element. The sheet should be supported on both sides of the heater.
- Pre-heat the strip heater to the appropriate setting. Most strip heaters have a dial — start at a medium setting and adjust based on your thermometer readings. Target 300°F (150°C) at the acrylic surface.
- Heat the acrylic by holding it over the strip heater. Rotate the sheet periodically to heat both sides evenly. Heating time varies by thickness: approximately 3-5 minutes for 1/8″ (3mm), 5-8 minutes for 1/4″ (6mm), and 8-12 minutes for 3/8″ (10mm).
- Test for flexibility by gently applying pressure at the bend line. When the acrylic bends easily with minimal force, it is ready.
- Bend the acrylic by lifting one side of the sheet and pressing it against your bending jig. Apply smooth, even pressure — do not force or jerk the material.
- Hold the bend in position against the jig for 30-60 seconds while the acrylic cools enough to retain its shape.
- Remove from jig and allow to cool completely to room temperature before handling. Do not force-cool with water or compressed air, as rapid cooling creates internal stress.
Pro Tip: For thicker sheets, heat from both sides by flipping the acrylic every 2-3 minutes. Uneven heating causes the acrylic to bend toward the hotter side.
Method 2: Oven Forming (Complex Curves)
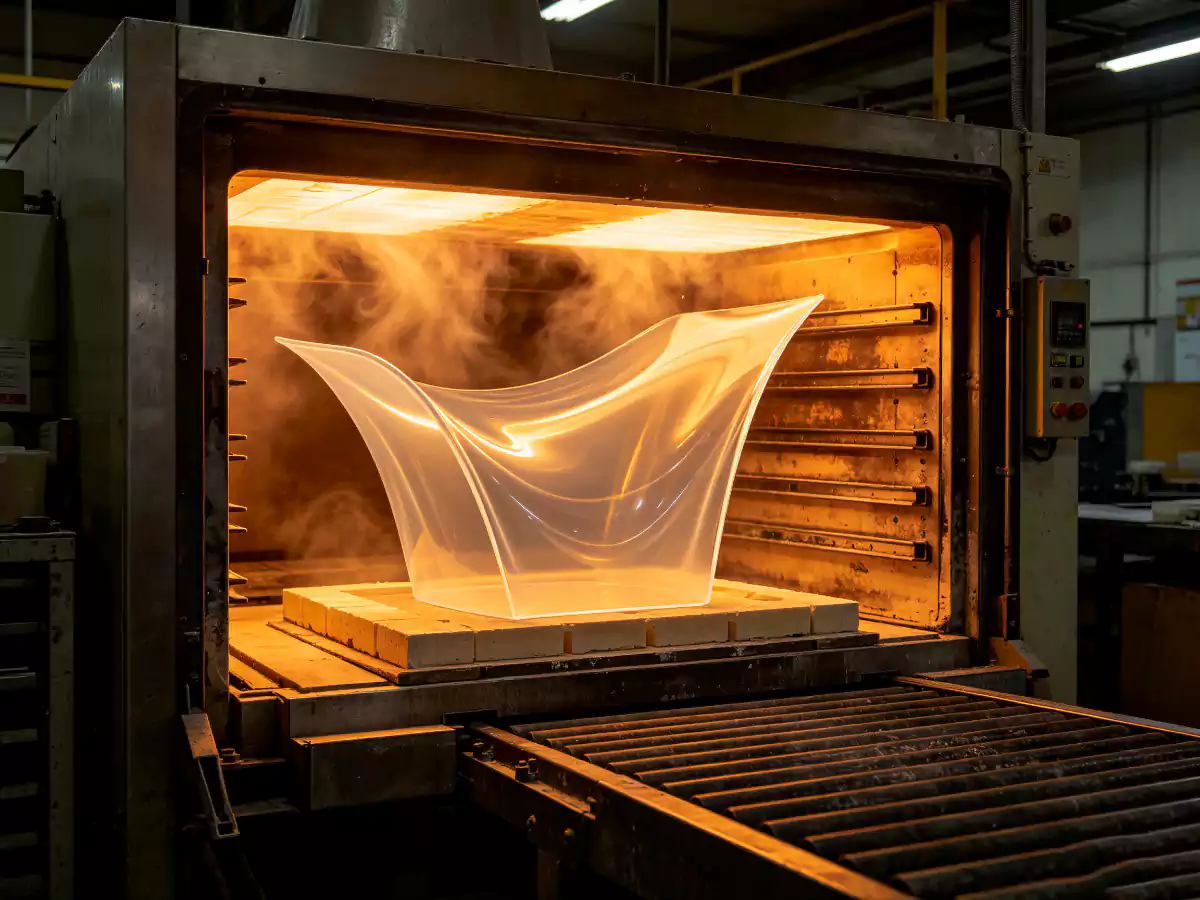
Oven forming allows you to heat the entire acrylic sheet uniformly, then drape or press it over a mold to create complex curves, domes, and compound shapes that are impossible with a strip heater.
Equipment Needed
- Conventional oven (large enough for your sheet — a dedicated oven is ideal, as fumes can affect food)
- Mold or form (made from wood, MDF, plaster, or foam)
- Oven mitts and heat-resistant gloves
- Infrared thermometer
- Weights or clamps (for holding the acrylic against the mold)
Step-by-Step Process
- Prepare your mold — it should be smooth and free of sharp edges that could mark the acrylic. Cover the mold with felt or cloth to prevent surface marks.
- Remove all protective film from the acrylic sheet.
- Pre-heat the oven to 250°F (121°C). Place the acrylic sheet on a flat baking sheet or oven rack.
- Heat the acrylic for 10-15 minutes (for 1/4″ / 6mm sheet). The acrylic will become flexible and slightly droopy.
- Monitor temperature with your infrared thermometer. Target 290-300°F (143-154°C) at the acrylic surface.
- Remove the sheet carefully using oven mitts. It will be very flexible and somewhat floppy.
- Drape or press the heated acrylic over your mold. Work quickly — the acrylic begins cooling immediately and will stiffen within 2-3 minutes.
- Hold in position using weights, clamps, or gloved hands until the acrylic cools enough to hold its shape (about 3-5 minutes).
- Allow to cool completely to room temperature before removing from the mold.
Important: Never exceed 320°F (160°C) in the oven. If you see bubbles forming, the temperature is too high — remove the sheet immediately.
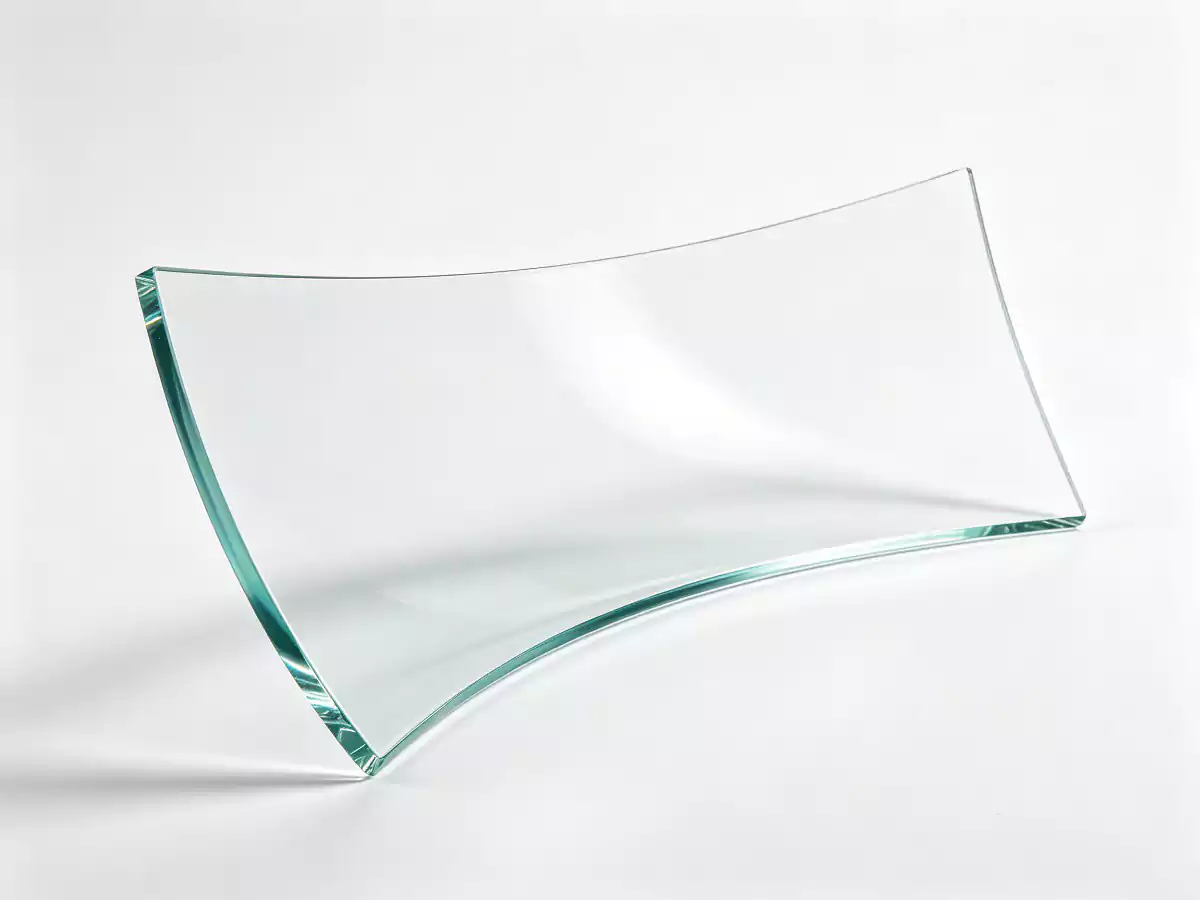
Method 3: Freeform Bending (Artistic Shapes)
Freeform bending uses a heat gun to locally soften specific areas of the acrylic, allowing you to create organic, artistic shapes without molds or jigs. This method is ideal for sculptures, custom brackets, and creative projects.
Equipment Needed
- Heat gun with adjustable temperature (500°F minimum output)
- Infrared thermometer
- Heat-resistant gloves
- Safety glasses
- Form or round object (optional, for cylindrical bends)
Step-by-Step Process
- Mark the areas you want to bend with a fine-tip marker.
- Remove protective film from the heating area.
- Set your heat gun to medium-high. Hold it 3-4 inches from the acrylic surface.
- Move the heat gun continuously in a sweeping motion over the target area. Never hold the heat gun stationary — concentrated heat will cause blistering.
- Monitor temperature — stop heating when the surface reaches 300°F (150°C).
- Apply gentle bending force with gloved hands. Bend gradually, reheating as needed if the acrylic stiffens before you achieve the desired shape.
- Hold the shape until the acrylic cools sufficiently to retain its form.
Pro Tip: Practice on scrap pieces first. Freeform bending is the most technique-dependent method and requires a feel for how the acrylic responds to heat and pressure.
Bend Radius Calculations
The minimum bend radius depends on the sheet thickness and the type of acrylic. Bending too sharply causes the outer surface to stretch beyond its elastic limit, creating visible whitening, micro-cracking, or complete fracture.
| Thickness | Minimum Bend Radius | Recommended Bend Radius |
|---|---|---|
| 1/8″ (3mm) | 3/16″ (5mm) | 1/4″ (6mm) |
| 1/4″ (6mm) | 3/8″ (10mm) | 1/2″ (12mm) |
| 3/8″ (10mm) | 1/2″ (12mm) | 3/4″ (19mm) |
| 1/2″ (12mm) | 3/4″ (19mm) | 1″ (25mm) |
Rule of thumb: The minimum bend radius should be at least 1.5 times the material thickness for cast acrylic, and 2 times the thickness for extruded acrylic.
Cooling and Setting
How you cool the bent acrylic is just as important as how you heat it:
- Natural cooling: Allow the acrylic to cool at room temperature while held in position. This produces the strongest, most stress-free bends.
- Avoid forced cooling: Never use water, compressed air, or fans to speed cooling. Rapid temperature changes create internal stresses that can cause cracking later.
- Hold time: Keep the acrylic in the jig or held in position for at least 2-3 minutes for thin sheets and 5-10 minutes for thick sheets before releasing.
- Full cure: The bent acrylic reaches full dimensional stability after 24 hours. Avoid machining or stressing the bend during this period.
Common Projects That Require Bending Acrylic
Heat bending opens up creative possibilities beyond flat acrylic sheets. Here are four practical scenarios where acrylic bending skills come in handy for real projects.
Custom Retail Display Stand
Shop owners and display makers bend acrylic to create angled shelves, brochure holders, and product stands that position merchandise at the optimal viewing angle. A simple 30-degree bend can turn a flat sheet into a functional countertop display that showcases products more effectively than flat shelving.
Aquarium Canopy and Cover
Aquarium builders bend acrylic to create tank canopies, feeding hatches, and equipment covers that fit the tank perfectly. Bent acrylic canopies look cleaner than assembled multi-piece designs and provide better protection against evaporation and fish jumping. Custom bends allow for built-in light mounts and access panels.
Sign Letter Bending for Storefronts
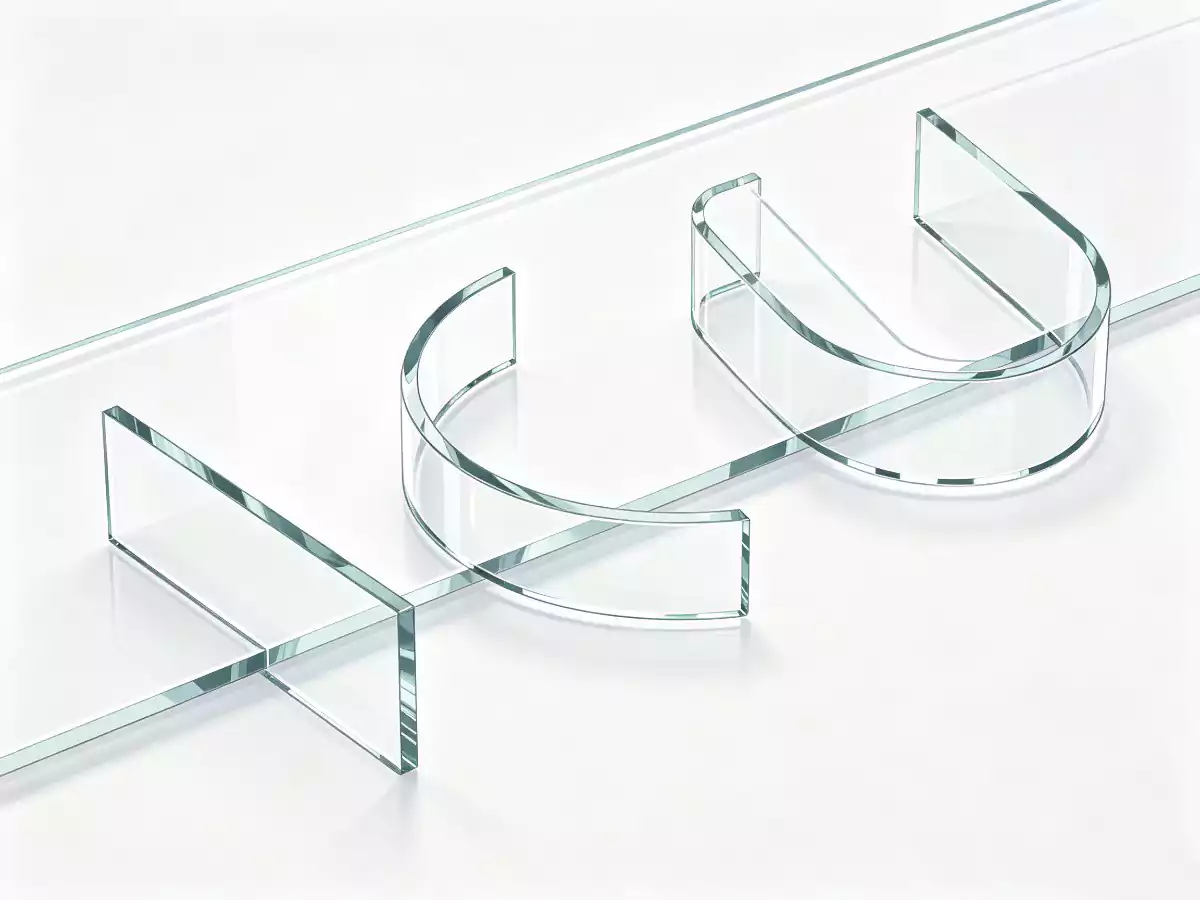
Sign makers use channel letter bending to create three-dimensional acrylic letters for storefront signage. Each letter face requires precise bending along traced outlines to form the sides of the channel. The bent acrylic sides are then glued to the face, creating a hollow letter that can be backlit with LEDs.
Model and Prototype Making
Architects, product designers, and hobbyists bend acrylic to create scale models, product prototypes, and display enclosures. Clear acrylic models allow viewers to see internal structures and understand how components fit together. Heat-formed acrylic shapes can closely approximate final product designs at a fraction of the cost of production tooling.
Common Problems and Solutions
| Problem | Cause | Solution |
|---|---|---|
| Bubbles or blisters | Temperature too high or extruded acrylic | Reduce temperature; use cast acrylic; anneal extruded acrylic first |
| Uneven bend | Uneven heating | Heat both sides; rotate sheet over strip heater |
| White marks at bend | Bend radius too tight | Increase bend radius; heat more evenly |
| Cracking during bend | Acrylic not hot enough | Continue heating until fully pliable; test with gentle pressure |
| Spring-back after cooling | Insufficient cooling time in jig | Hold in jig longer; over-bend slightly to compensate |
| Discoloration | Overheating | Monitor temperature closely; never exceed 320°F |
Conclusion: Practice Makes Perfect
Heat bending acrylic is a skill that improves dramatically with practice. Start with simple 90-degree bends on scrap pieces of 1/8″ cast acrylic to develop a feel for the heating process and bending technique. As your confidence grows, progress to thicker materials, tighter radii, and more complex shapes.
Remember the fundamentals: use cast acrylic, heat to 300°F (150°C), never exceed 320°F (160°C), bend gradually, and cool slowly. Master these principles, and you will be able to create stunning curved acrylic pieces for any project.
For the complete acrylic fabrication guide covering cutting, gluing, drilling, and polishing, visit The Complete Guide to Acrylic Sheet Fabrication Read more in our cut acrylic sheets guide.
Frequently Asked Questions
What temperature does acrylic bend at?
Acrylic softens and becomes bendable around 300-320°F (150-160°C). At this temperature, it forms easily and holds its shape when cooled.
Can you bend acrylic with a heat gun?
Yes. A heat gun works well for straight bends when used with a strip heater or by moving it evenly across the bend line. Avoid overheating any single spot.
What is the best tool for bending acrylic?
A strip heater is the most reliable tool for straight, accurate bends. For curves and complex shapes, an oven or heat gun with a forming mold works better.
Can you bend acrylic without breaking it?
Yes, as long as you heat it evenly to the correct temperature and bend it slowly and steadily. Cold acrylic cracks when bent.
How long does it take for bent acrylic to set?
Acrylic hardens and holds its shape within 1-2 minutes of cooling at room temperature. Clamp it in position while cooling for the most accurate angle.
Can you bend acrylic with a hair dryer?
A standard hair dryer does not get hot enough to properly bend acrylic. You need a heat gun that reaches 300°F+ or a dedicated strip heater.
Can acrylic be bent into curves and shapes?
Yes. Acrylic forms into curves, domes, and complex shapes when heated uniformly and formed over a mold. Vacuum forming and drape forming are common techniques.