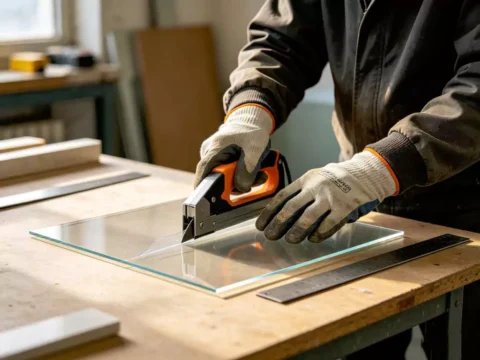

Gluing acrylic is nothing like gluing wood, plastic, or metal. You’re not just sticking two pieces together — you’re chemically welding them into a single, seamless piece. When done right, an acrylic glue joint is stronger than the material itself and nearly invisible to the naked eye. But when done wrong, you end up with cloudy, frosted joints that look amateurish and can fail under stress. Whether you’re building a display case, repairing an aquarium, or assembling a custom acrylic project, understanding how to glue acrylic properly makes all the difference between a professional result and a disappointing one.
Why Gluing Acrylic Is Different from Other Materials
Acrylic is a thermoplastic, which means it can be dissolved by certain chemical solvents. This property is the foundation of solvent welding, the primary bonding method for acrylic-to-acrylic joints. Instead of sitting on the surface like conventional adhesives, solvent cement partially dissolves the acrylic at the joint interface, allowing the polymer chains of both pieces to intermingle. As the solvent evaporates, the pieces fuse into what is essentially a single piece of material — creating a bond that is as strong as the acrylic itself.
This guide covers every aspect of acrylic bonding, from selecting the right adhesive for your project to mastering the application techniques that produce flawless, nearly invisible joints. Whether you are building a display case, fabricating an aquarium, or constructing a custom light fixture, these methods will give you professional-quality results.
Understanding Acrylic Adhesives: A Complete Overview
Not all adhesives are created equal when it comes to acrylic. The right choice depends on your joint design, gap tolerance, curing requirements, and the materials being bonded. Here is a comprehensive breakdown of every adhesive option. Read our cut acrylic sheets guide to learn more.
Weldon 3 — Medium-Viscosity Solvent Cement
Weldon 3 is the workhorse of acrylic fabrication. It has a syrup-like consistency that fills small gaps and provides a 3-5 minute working time, giving you enough room to adjust the joint before the bond sets. Read our polish acrylic edges guide to learn more.
- Consistency: Medium viscosity (similar to honey)
- Working time: 3-5 minutes
- Full cure: 24-48 hours
- Gap-filling: Fills gaps up to 0.15mm (0.006″)
- Best for: General-purpose bonding, edge-to-edge joints, corner joints, and situations where slight gap-filling is needed
- Bond strength: Approaches parent material strength when properly applied
Weldon 3 is the most versatile adhesive in the Weldon lineup and should be your go-to choice for most acrylic-to-acrylic bonding applications.
Weldon 4 — Thin Solvent Cement for Capillary Action
Weldon 4 has a water-thin consistency that allows it to flow into tight-fitting joints by capillary action. When two precisely machined edges are held together, Weldon 4 is drawn into the joint by surface tension, creating an extremely strong, nearly invisible bond.
- Consistency: Very thin (water-like)
- Working time: 1-2 minutes
- Full cure: 24-48 hours
- Gap-filling: Minimal — requires tight-fitting joints (gap less than 0.05mm)
- Best for: Precisely fitted joints, lap joints, and applications requiring the most invisible bond line
Weldon 4 produces the clearest joints of any solvent cement but demands perfectly prepared edges. Any gap, misalignment, or contamination will result in visible defects.
Weldon 16 — Thick Gap-Filling Adhesive
Weldon 16 is a thick, paste-like adhesive that fills significant gaps and can be applied vertically without running or dripping. It contains actual acrylic resin particles suspended in solvent, making it more of a true adhesive than a pure solvent cement.
- Consistency: Thick paste
- Working time: 10-15 minutes
- Full cure: 48-72 hours
- Gap-filling: Fills gaps up to 0.5mm (0.020″)
- Best for: Imperfect joints, vertical applications, filling gaps in repaired pieces, and bonding where edges are not perfectly machined
Weldon 16 is your insurance policy when joints are not perfect. It is slower to cure and produces slightly more visible joint lines than Weldon 3 or 4, but its gap-filling capability makes it invaluable for many real-world situations.
Cyanoacrylate (CA) Glue — Fast-Setting Alternative
Super glue (cyanoacrylate) is not a solvent weld — it creates a mechanical bond by polymerizing on contact with surface moisture. While it does not produce the same strength as solvent welding for acrylic-to-acrylic joints, it has important uses.
- Setting time: 5-30 seconds (depending on formulation)
- Best for: Quick repairs, temporary fixtures, tacking joints before solvent welding, and bonding acrylic to non-acrylic materials
- Limitations: Brittle bond, can cause “crazing” (micro-cracking) on the acrylic surface, not as strong as solvent welds
Use CA glue sparingly in acrylic fabrication. It is excellent for holding pieces in position while you apply solvent cement, but should not be the primary bonding method for structural joints.
Epoxy Resin — Bonding Acrylic to Other Materials
When you need to bond acrylic to wood, metal, glass, or other non-acrylic materials, solvent welding is not an option. Two-part epoxy resin is the best choice for these mixed-material joints.
- Working time: 5-30 minutes (depending on formulation)
- Full cure: 24 hours
- Best for: Bonding acrylic to wood, metal, glass, or other non-plastic materials
- Limitations: Visible bond line, not as strong as solvent welds for acrylic-to-acrylic joints
Choose a clear, slow-curing epoxy for the best results. Fast-curing epoxies generate more heat, which can warp thin acrylic.
Curing Times and Environmental Conditions
Proper curing is essential for maximum bond strength. Solvent cement bonds develop strength as the solvent evaporates from the joint:
- Initial set: 3-15 minutes (depending on adhesive type)
- Handling strength: 4-6 hours
- Full strength: 24-48 hours (Weldon 3/4), 48-72 hours (Weldon 16)
Environmental conditions significantly affect curing speed:
- Temperature: Warm temperatures (70-80°F/21-27°C) speed curing. Cold temperatures below 60°F/15°C significantly slow it down.
- Humidity: High humidity slows solvent evaporation. Work in dry conditions when possible.
- Airflow: Gentle airflow across the joint helps solvent evaporate. Avoid drafts that could shift the pieces during initial set.
Practical Scenarios for Acrylic Gluing
Knowing how to properly glue acrylic is essential for many fabrication and repair projects. Here are four common situations where acrylic bonding skills save the day.
Aquarium Leak Repair
Aquarium owners encounter leaks in acrylic tanks when joints fail or cracks develop. Solvent cement can repair small leaks by chemically welding the cracked material back together. For larger failures, acrylic patches glued over the damaged area restore structural integrity. Proper surface preparation and clean application are critical for watertight aquarium repairs.
Display Case Assembly
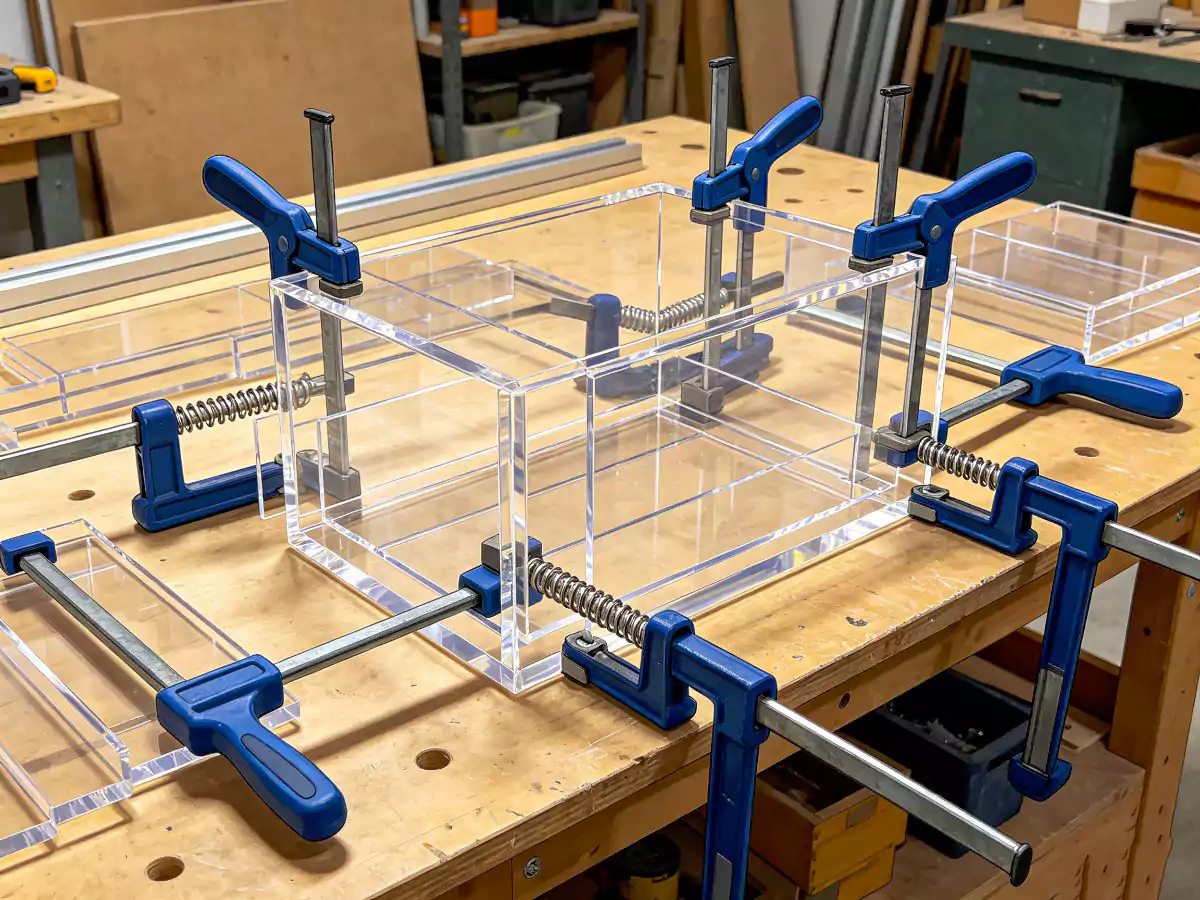
Retail display makers glue acrylic panels together to create display boxes, cases, and cabinets. Perfectly square, gap-free joints require precise cutting and careful clamping during assembly. The strongest display cases use mitered joints glued with solvent cement for invisible bonds that are stronger than the material itself.
Acrylic Box and Container Making
Crafters and small business owners glue acrylic sheets into custom boxes for product packaging, gift boxes, and display containers. Glued acrylic boxes look more professional than assembled designs with visible hardware. Magnetic closures, hinged lids, and custom compartments all rely on clean, strong glued joints to function properly.
DIY Terrarium and Vivarium Build
Reptile and plant enthusiasts build custom acrylic terrariums and vivariums by gluing panels together. Clear acrylic provides excellent visibility while being lighter and safer than glass terrariums. Glued joints must be completely sealed to maintain humidity levels for tropical plants and reptiles, making proper gluing technique essential for a successful build.
Common Mistakes and How to Avoid Them
| Mistake | Consequence | Solution |
|---|---|---|
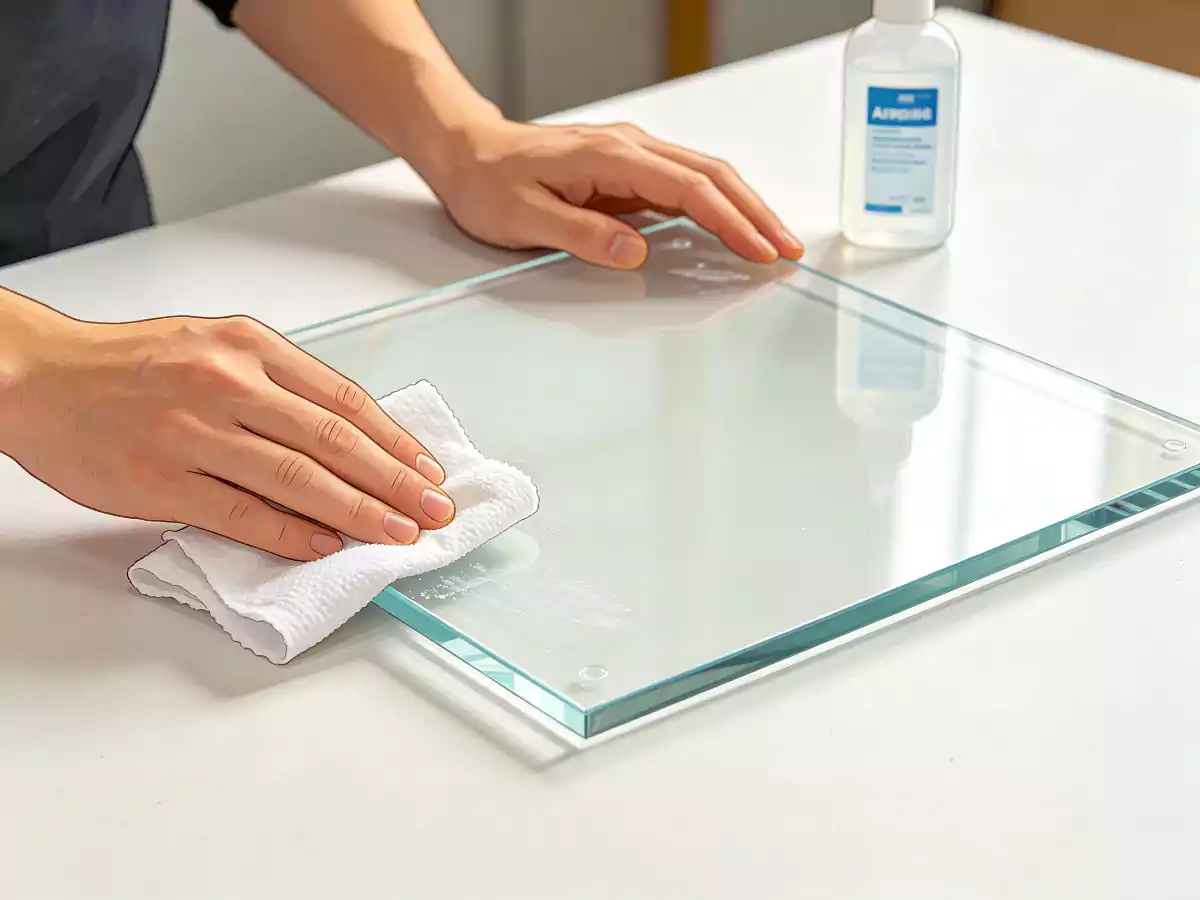
| Insufficient surface cleaning | Weak, cloudy bonds | Clean with IPA, handle by edges only |
| Using too much adhesive | Excessive melting, warped edges | Apply minimal amount — capillary action does the work |
| Moving pieces during initial set | Misaligned, weakened joints | Use proper jigs and clamps; do not disturb for 5+ minutes |
| Not removing masking tape residue | Bond failure at residue points | Clean surfaces after removing tape |
| Rushing cure time | Premature joint failure | Wait full 24-48 hours before applying load |
| Using wrong adhesive for the gap | Weak bond or visible defects | Match adhesive viscosity to gap size |
| Working in cold conditions | Extended cure, weak bonds | Maintain 70°F+ or use gentle heat (not direct) to speed curing |
Conclusion: Mastering Acrylic Bonding Takes Practice
Gluing acrylic is both an art and a science. The chemistry of solvent welding is straightforward, but achieving consistently perfect joints requires practice, patience, and meticulous attention to surface preparation. Start with simple butt joints using Weldon 3 to build your confidence, then progress to more complex joint designs and thinner cements as your skills develop.
Remember: clean surfaces, correct adhesive, proper clamping, and adequate curing time are the four pillars of successful acrylic bonding. Master these fundamentals, and you will achieve professional-quality results on every project.
For the full acrylic fabrication workflow, including cutting, bending, drilling, and polishing, check out The Complete Guide to Acrylic Sheet Fabrication Read more in our cut acrylic sheets guide.
Frequently Asked Questions
What is the best glue for acrylic?
Solvent cement (also called acrylic cement or weld-on) creates the strongest, clearest bonds by chemically fusing the acrylic pieces together.
Can I use super glue on acrylic?
Cyanoacrylate (super glue) works on acrylic but creates a brittle bond and can cause frosting or clouding near the joint. Use solvent cement for clear, strong bonds.
How long does acrylic glue take to dry?
Solvent cement sets in 30-60 seconds and reaches handling strength in a few minutes. Full cure takes 24-48 hours depending on joint size and temperature.
Do I need to clamp glued acrylic pieces?
Not necessarily. Solvent cement bonds quickly, so pieces may just need to be held in position for 30-60 seconds. Larger assemblies benefit from clamping or jig support.
Can you glue acrylic to other materials?
Solvent cement only bonds acrylic to acrylic. For gluing acrylic to wood, metal, or glass, use silicone adhesive, epoxy, or double-sided acrylic foam tape.
Is Weld-On 4 the same as acrylic cement?
Yes. Weld-On 4 is a popular brand of solvent cement formulated for acrylic. It is a water-thin formula designed for capillary application between closely fitting parts.
How do I fix a cloudy acrylic glue joint?
Cloudy joints usually result from insufficient or uneven cement application. Ensure parts fit tightly, apply cement evenly on both surfaces, and avoid moving parts while the cement sets.